
6 Chimney Flashing Failures That Cause Leaks, Diagnose Before You Pay
6 Chimney Flashing Failures That Cause Leaks, Diagnose Before You Pay
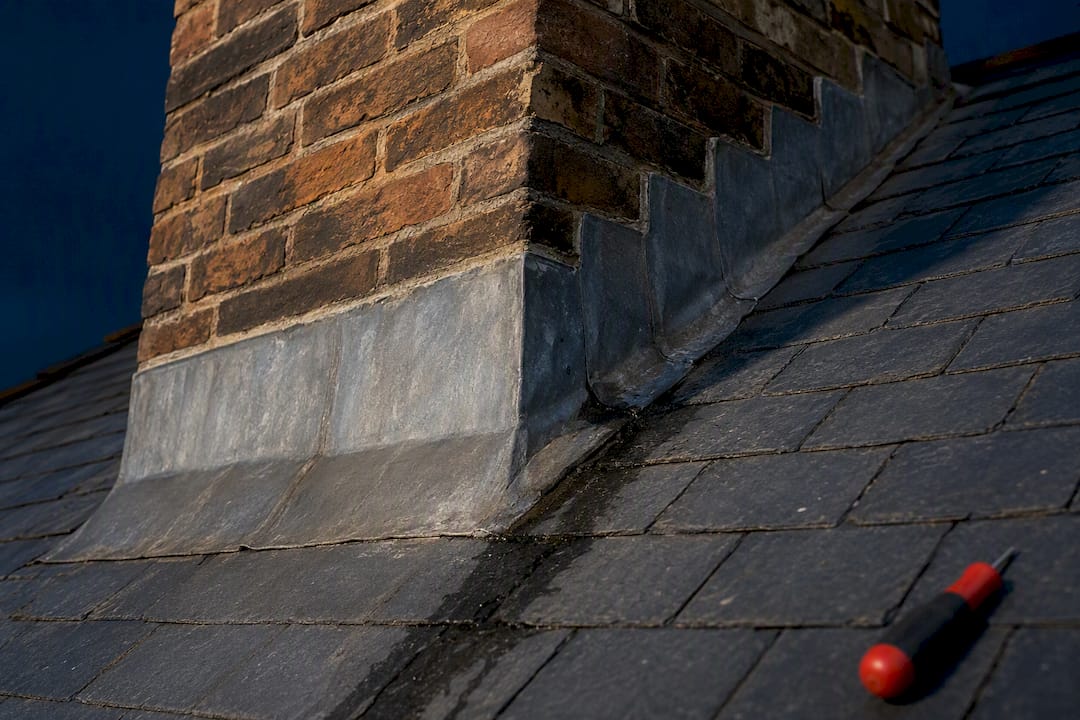
In most domestic cases where water appears near a chimney, the flashing or its seals are the likeliest cause. Check the loft and run a short, ordered hose test, or arrange a survey, before you accept any quote. Be wary of caulk-only fixes; they rarely last, and a lasting repair usually means re-bedding, replacing step flashing, or a full reflash.
TL;DR:
- A staged, bottom-up hose test combined with a loft inspection is the most reliable method to diagnose chimney flashing leaks accurately.
- Common failure modes include cracked sealant, damaged reglets, missing counterflashing, rusted or separated step flashing, and cracked masonry crowns.
- Proper re-bedding or full reflash repairs last significantly longer, typically 25 to 40 years, compared to sealant-only fixes which last about 10 to 20 years.
- DIY repairs are only suitable for minor issues like sealant cracks, while active leaks, rusted flashing, or structural damp require professional assessment and intervention.
- Regular maintenance, including gutter clearing and resealing before sealant deterioration, extends the lifespan of chimney flashing and prevents costly indoor damage.
Table of Contents
- What causes chimney flashing leaks: interior and exterior signs
- How do you test for a chimney flashing leak yourself?
- Common flashing failure modes and what each one means
- Repair options, realistic costs and how long each one lasts
- When should you call a professional instead of DIY?
- How can you extend the life of chimney flashing?
- Why a documented diagnosis matters more than a quick quote
- Book a chimney and leak survey with Quay Point Plastering
- Sources
What causes chimney flashing leaks: interior and exterior signs
You are looking for two sets of clues, and they need to be read together. Inside the house, watch for ceiling stains that follow the line of the chimney breast, damp or matted insulation in the loft directly around the stack, and water appearing in the firebox after a storm. Timing matters: if the marks only worsen after heavy or wind-driven rain, that points squarely at flashing rather than plumbing.
Outside, look for the physical failure itself.
- Flashing that has lifted, curled, or pulled away from the brickwork
- Dried, cracked, or missing sealant at the reglet (the groove cut into the mortar joint)
- Rust holes or thinning metal on older lead or galvanised flashing
- Gaps where the flashing meets the reglet, letting water track behind it
- A missing or damaged chimney cap, or pooling water on the flat area behind a wide stack
A stain rarely sits directly under the entry point. Water often travels along rafters or roof decking before it finally shows itself, sometimes several feet from the actual gap, so a mark on your bedroom ceiling may trace back to a failure a metre or more uphill. That is also why some homeowners mistake a flashing problem for a plumbing leak and waste time chasing the wrong culprit.
How do you test for a chimney flashing leak yourself?
A loft inspection and a controlled hose test will tell you far more than staring at the roofline from the garden. Do both before you ring anyone for a quote.
Loft checklist first:
- Look for damp or compressed insulation directly beneath the chimney stack.
- Check rafters and roof decking near the chimney for staining, rather than just the plasterboard below.
- Note any active drips and the exact time and weather conditions.
- Photograph everything with a torch and a scale reference, such as a tape measure, and note the date.
Then run a staged hose test, ideally with someone inside watching for the first sign of water while another person is outside with the hose:
- Start low, soaking only the base flashing for 5 to 10 minutes.
- If nothing shows inside, move up to the next section and repeat.
- Continue working upward, one section at a time, never skipping ahead.
- Stop the moment water appears inside and note exactly which section was wetted.
This staged, bottom-up approach is the same method professionals rely on to isolate an entry point without guessing. Skipping straight to hosing the whole chimney at once tells you nothing useful.
Pro Tip: Only attempt the hose test from ground level with an extended wand, or from a secure ladder on a low, shallow roof. Steep or high roofs are a job for someone with proper access equipment, not a Saturday afternoon and a garden hose.
If the damp appears regardless of weather, or worsens with central heating use, you may be looking at condensation rather than a rain-driven leak. It is worth ruling that out before spending money on flashing repairs.
Common flashing failure modes and what each one means
Not all flashing failures are equal, and the repair needed depends entirely on which one you are dealing with. Six failure modes account for most chimney-area leaks, and diagnosing the correct one first avoids paying for work you do not need.
- Dried sealant at the reglet — cracked, chalky caulk visible along the joint; usually the cheapest and quickest fix, but only ever a partial one.
- Cracked mortar or a damaged reglet groove — the channel the flashing sits in has broken away, letting water behind the metal regardless of sealant condition.
- Missing counterflashing — the upper layer that should overlap the base flashing was never installed or has fallen away, leaving a gap with nothing to shed water.
- Rusted or separated step flashing — individual metal pieces along a sloped roof edge have corroded through or pulled apart at the laps.
- Damaged masonry crown — cracks in the concrete cap atop the chimney let water into the stack itself, independent of the flashing.
- Missing uphill cricket — on wider chimneys, water pools against the uphill side without a saddle to divert it away.
That last point matters more than most homeowners realise. Where a chimney is wider than the threshold used in building guidance for cricket installation, skipping the saddle is a well-documented cause of recurring leaks on the uphill face, no matter how many times the sealant gets redone.
Repair options, realistic costs and how long each one lasts
Quotes vary enormously because the failure modes above call for genuinely different scopes of work, not just different prices for the same job. Treat any quote that skips the diagnosis stage with suspicion.
- Reseal the reglet — cleaning out old sealant and applying fresh compound. Cheapest option, but typically only lasts 10 to 20 years at best, and sometimes considerably less if the joint itself has degraded.
- Re-bed counterflashing — lifting the metal, cleaning the reglet, and setting it back with proper mortar and sealant. A properly re-bedded counterflashing can last 25 to 40 years, well beyond a sealant-only fix.
- Full reflash with new step flashing — replacing corroded or separated pieces entirely. More disruptive and costlier, but addresses the root cause rather than patching around it.
- Crown repair — sealing or rebuilding a cracked masonry cap, usually priced separately from flashing work since it is a different material and trade.
- Cricket installation — building a saddle on the uphill side of wide chimneys, often combined with a reflash since the two go hand in hand.
- Cap replacement — fitting or replacing a chimney cap to stop rainwater and debris entering the flue directly.
A caulk-only quote might look attractive on price, but it is routinely a temporary stabilising measure rather than a genuine repair, and any tradesperson offering one should say so plainly, with a timescale for when you will need to revisit it. Insist on proper lead or code-appropriate metal thickness, correctly lapped joints, and mortar bedding rather than sealant used as a structural material. If your leak has already caused staining low down in the wall, it is also worth understanding why walls stay damp after rain even once the visible leak stops.
When should you call a professional instead of DIY?
Some situations genuinely need a professional, and pushing on regardless usually costs more in the long run.
- Active dripping during rain, rather than just damp patches
- Any roof steeper or higher than you can safely inspect from a secure ladder
- Visibly rusted-through or missing flashing sections
- Structural damp, timber staining, or mould spreading beyond the immediate chimney area
- A history of repeated short-term fixes that keep failing within a year or two
A proper survey should include a loft inspection, a controlled water test, dated photographs, and a written scope of works with timescales and a guarantee attached — see advice on how to act fast to prevent damage from a water leak. Trade guidance is consistent on this point: a documented diagnosis, not a verbal guess, is what separates a fair quote from a costly gamble. Ask any tradesperson which of the six failure modes they believe is causing your leak, what materials they propose, and what lifespan they will put in writing. If moisture has already spread into insulation or timber, it can cause rot within months, so treat the survey as urgent rather than optional, and consider a wider leak detection service if the source still is not obvious after your own checks.
How can you extend the life of chimney flashing?
A short annual routine catches most problems before they become ceiling stains. After any severe storm, glance at the flashing lines from the ground and check the loft for fresh damp. Clear gutters near the chimney, remove any moss or vegetation growing against the base, and plan a reseal before the sealant fully cracks rather than after water has already found its way in.
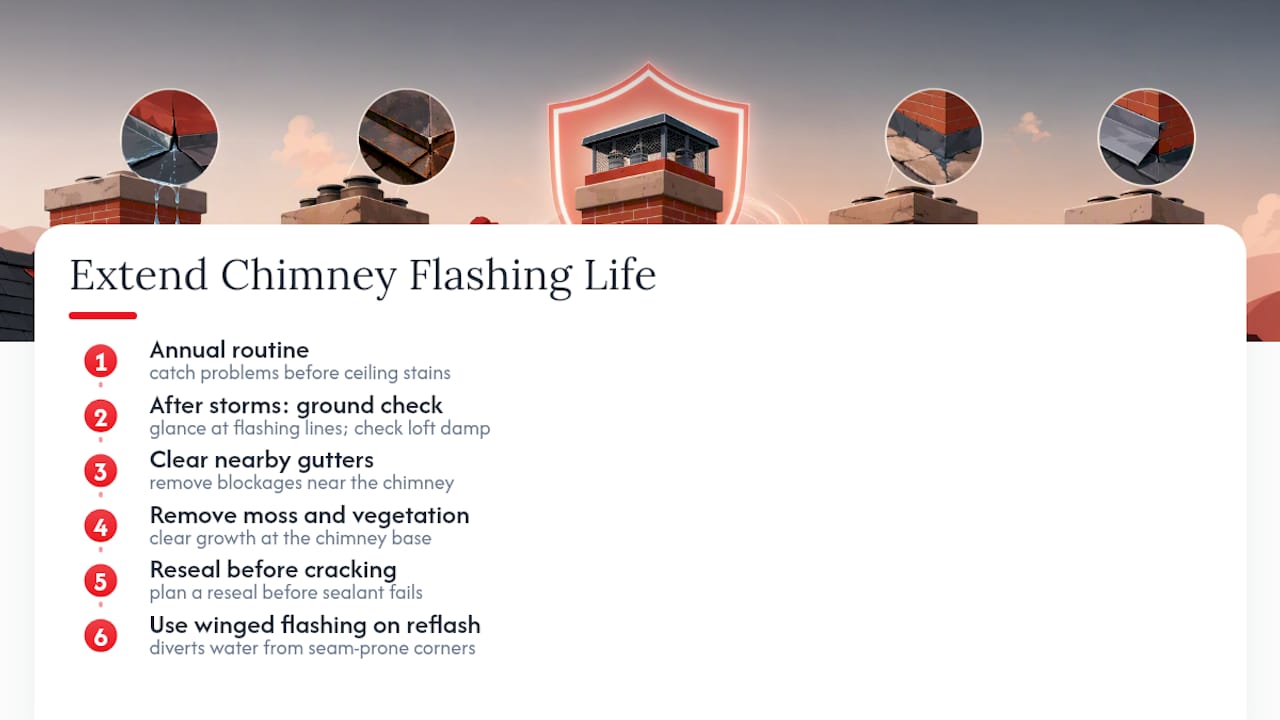
Better detail work pays for itself over decades. Winged flashing shapes extra metal at the corners to divert water away from the pinhole-prone seams that plague standard designs, reducing how much the repair depends on sealant at all.
Pro Tip: Ask any installer whether they use winged corners on a full reflash. It costs more in labour but removes one of the most common weak points before it ever becomes a problem.
Why a documented diagnosis matters more than a quick quote
A thorough process involves diagnosing before treating. A survey includes a loft inspection, a staged hose test where relevant, photographic evidence, and a written report before any repair is proposed. That sequence stops homeowners paying for a reflash when a re-bed would have done, or discovering eighteen months later that the sealant-only fix has already failed again.
— Quay
Book a chimney and leak survey with Quay Point Plastering
A survey-led diagnosis tells you exactly which of the six flashing failure modes is causing your leak, with photographic evidence and a written scope of works before any repair begins. Booking a survey typically includes a loft inspection, a controlled water test where appropriate, and a documented report with timescales.

That written scope matters because it is what protects you from paying twice: once for a sealant patch, then again a few years later for the reflash that was needed all along. If your damp is already showing on internal walls rather than just around the chimney, the same survey-first approach applies to damp appearing after rain more broadly. Start by booking a damp and timber survey and get a clear, evidenced answer before committing to any repair.
Sources
- Chimney Flashing Leak: 6 Failure Modes & Repair Cost | TRB
- Chimney Leak Repair: A 2026 Homeowner’s Diagnostic Guide
- Flashing takes flight — Fine Home Building
- What to do if your chimney leaks — Checkatrade