
Bathroom mould solutions that actually stop it returning
Bathroom mould solutions that actually stop it returning
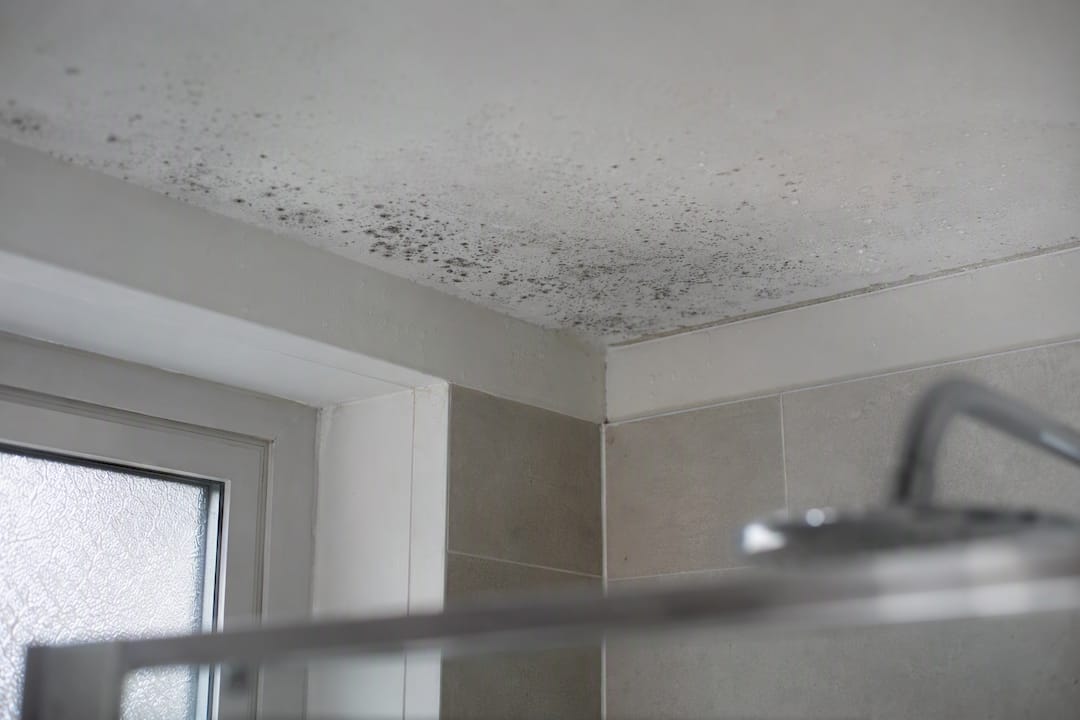
Treat visible mould immediately, then fix the moisture behind it. Isolate the source (leak or condensation), put on gloves and an FFP2 mask, treat the surface with the right product, and improve extraction. If it keeps coming back, that’s your signal to stop cleaning and start diagnosing.
- Treat visible mould on tile, glass, or painted plaster with a proper mould cleaner
- Test for leaks before assuming it’s condensation
- Run the extractor or a dehumidifier immediately after every shower
For anything beyond a small surface patch, a survey-led inspection from a specialist like Quay Point Plastering, backed by NHS health guidance and Gov housing standards, tells you exactly what you’re dealing with before you spend another weekend scrubbing.
Key Takeaways
Bathroom mould solutions work best when DIY cleaning addresses small surface patches while a survey-led professional diagnosis handles anything porous, recurring, or structural.
| Point | Details |
|---|---|
| Diagnose before treating | Check whether growth is diffuse condensation mould or a defined leak patch with a tide line. |
| Match the cleaner to the surface | Use Dettol or Cillit Bang sprays on tile and glass, vinegar or bicarbonate of soda on grout, hydrogen peroxide on silicone. |
| Never mix chemicals | Combining bleach with vinegar or ammonia produces dangerous chlorine gas. |
| Replace, don’t clean, porous materials | Stained silicone, crumbling plaster, or deeply stained grout usually need removal and replacement. |
| Book a survey when thresholds are met | Quay Point Plastering provides moisture mapping, a written report, and a guaranteed scope of work for persistent or structural mould. |
Table of Contents
- How to tell condensation mould apart from leak-related mould
- Step-by-step DIY removal for small, surface-level bathroom mould
- Which cleaners and home recipes actually work
- When to remove and replace silicone, grout or plaster instead of just cleaning
- Signs you should book a survey-led professional
- Practical prevention techniques that stop mould returning
- Health cautions, tenancy considerations, and safety limits
- Why a survey-led approach matters for persistent mould
- A tradesperson’s view on the mistakes that keep mould coming back
- How Quay Point Plastering can help with persistent bathroom mould
- Sources
How to tell condensation mould apart from leak-related mould
Condensation mould spreads thin and diffuse, usually clustering on the coldest surfaces in the room: ceiling corners, above the shower, around a north-facing window. It’s often speckled rather than solid, and it tends to appear on a schedule, worse after steamy showers and better when the room’s had a chance to dry out.
Leak-related mould behaves differently. It shows up as a defined patch, sometimes with a tide line where water has dried at different levels, and the plaster underneath often feels soft to the touch. It doesn’t care whether you’ve showered that day.
Run these checks before treating anything:
- Tap the affected plaster gently; a hollow or spongy sound suggests moisture behind the surface, not just on it
- Look above and behind the patch for pipework, waste stacks, or roofline junctions
- Note the timing of when mould appears, constant growth points to a leak, shower-linked growth points to condensation
Getting this wrong wastes effort. Ventilate harder and you’ll never touch a slow pipe leak; re-caulk a shower tray and you’ll do nothing for a poorly vented room. As Damp & Mould Solutions points out, ceiling mould specifically tends to be warm, humid air condensing on a colder surface, which narrows the diagnosis considerably.
Step-by-step DIY removal for small, surface-level bathroom mould
A patch smaller than roughly the size of an A4 sheet, sitting on a non-porous surface like tile, glass, or painted plaster, is generally safe to tackle yourself. Anything larger, anything on plasterboard that feels soft, or anything that returns within weeks needs more than a spray bottle.
Start with the moisture source, not the mould. Cleaning without fixing ventilation is a loop you’ll repeat monthly.
- Put on PPE first: gloves, an FFP2 or P2 mask, and eye protection. Mould spores become airborne the moment you disturb them.
- Open a window or run the extractor before you start, and keep it running throughout.
- Mist the area lightly with water before scrubbing. Dry-brushing throws spores straight into the air you’re breathing.
- Apply your chosen cleaner (see the comparison below) and let it dwell for the time stated on the label, usually 5 to 15 minutes.
- Scrub with a soft brush, not a scourer that could scratch the surface and give spores new grooves to colonise.
- Rinse thoroughly with clean water, then dry the area completely with a towel or fan.
- Recheck in 48 hours. If it’s back already, the moisture problem hasn’t been solved, not a cleaning problem.
Never mix bleach with vinegar, ammonia, or other acidic cleaners. The chemical reaction produces chlorine gas, which is dangerous in a small, enclosed bathroom.
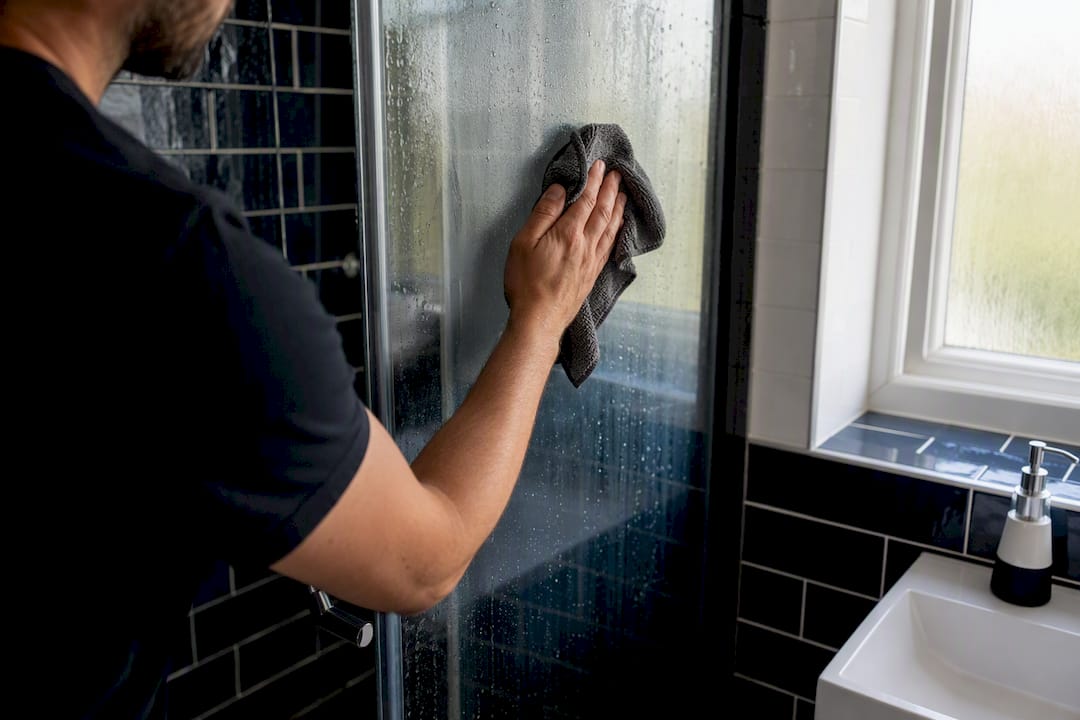
Pro Tip: Wipe down tiles and glass with a dry cloth straight after every shower. It takes ninety seconds and removes the moisture film mould needs to establish itself in the first place.
Which cleaners and home recipes actually work
Different surfaces need different treatment, and reaching for bleach on everything is one of the most common mistakes.
| Surface | Best option | Notes |
|---|---|---|
| Tile and glass | Dettol Anti-Bacterial Mould & Mildew Remover or Cillit Bang Mould & Mildew Remover | Fast-acting, formulated for hard non-porous surfaces |
| Grout | White vinegar or bicarbonate of soda paste | Gentler, needs longer dwell time and repeat applications |
| Silicone sealant | 3% hydrogen peroxide | Penetrates better than bleach on porous, textured surfaces |
| Painted plaster (surface only) | Diluted bleach, well-ventilated | Only for cosmetic staining, not for soft or damp plaster |
White vinegar and bicarbonate of soda are useful, low-cost first steps: mix bicarbonate of soda with a little water into a paste for grout lines, or spray neat white vinegar and leave for an hour before scrubbing. Neither is as fast as a commercial spray, but both avoid the fumes that come with bleach-based products.
- Never mix bleach with vinegar or ammonia-based cleaners
- Always ventilate the room and wear gloves while working
- Follow label dwell times rather than guessing, under-dwelling is the main reason mould reappears within days
If a patch shrugs off repeated treatment with any of the above, that’s usually a sign it’s gone further into the material than surface cleaning can reach.
When to remove and replace silicone, grout or plaster instead of just cleaning
Replace, don’t clean, when mould has visibly penetrated the substrate rather than sitting on top of it. Silicone that’s permanently grey or black no matter how hard you scrub, plaster that’s soft or crumbling under light pressure, and grout with staining that goes deeper than the surface layer are all past the point where cleaning products help.
Run these checks before deciding:
- Tap test: soft, hollow-sounding plaster needs investigation, not another coat of anti-mould paint
- Knife test: slide a blunt knife under the silicone edge; if it lifts cleanly with no adhesion, it’s already failed as a seal
- Grout depth check: scratch gently with a fingernail, if staining persists below the surface, it’s colonised the material itself
To replace sealant, cut out the old silicone completely, clean and dry the joint fully, then apply a dedicated anti-mould silicone in an unbroken bead. For grout, consider a penetrating grout sealer once it’s clean, or an epoxy grout on renovation projects, it resists moisture far better than standard cement-based grout.
Pro Tip: Porous sealant that’s been colonised acts as a reservoir for spores even after you’ve scrubbed the visible surface. Full removal and replacement is usually the only genuinely permanent fix, not another tube of mould-resistant caulk over the top.
Signs you should book a survey-led professional
Call a professional when the patch is larger than a DIY-appropriate size, when the substrate feels soft or spongy, when mould returns within weeks of proper cleaning, when there’s a musty smell spreading beyond the bathroom, or when anyone in the household is experiencing breathing symptoms. At that point, further scrubbing is just delaying a repair that’s going to need doing anyway.
Before hiring anyone, check they can provide:
- A written report documenting what they found and why
- Moisture readings, not just a visual guess
- Clear photographs of the affected areas
- A defined scope of work, not a vague quote
- A written guarantee on any remedial work carried out
A proper survey-led process runs in a logical sequence: inspection and moisture mapping first, then diagnosis of the actual cause, a treatment proposal with clear pricing, remediation work, and finally reinstatement or replastering where needed. Timelines vary with the extent of the problem, but a straightforward bathroom job typically moves from survey to completed treatment within a few weeks, not months. You can read more about what the remediation process actually involves before booking anything.
Practical prevention techniques that stop mould returning
Moisture control beats treatment every time.
- Run the extractor fan during and for 15 to 20 minutes after every shower or bath, most units have a run-on timer for exactly this
- Test your fan with the tissue test: hold a strip of loo roll to the grille while it’s running; if it doesn’t cling, the ducting is likely blocked, crushed, or badly routed
- Squeegee tiles and the shower screen immediately after use
- Leave the door ajar or crack a window for at least half an hour after bathing
- Never dry clothes in the bathroom, it adds moisture the room has no way to shed
Beyond the daily routine, a short maintenance schedule catches problems before they become mould:
- Clean the extractor grille every six months
- Inspect silicone and caulk lines annually for early cracking
- Wash shower curtains and bath mats regularly, both hold moisture longer than you’d think
- Check for hidden leaks quarterly, particularly around the shower tray and bath panel
If you’re renovating, build prevention in rather than bolting it on later. Epoxy grout, mould-resistant plasterboard, and anti-mould silicone all cost marginally more upfront and save considerable hassle later. Whole-house condensation problems, where every room runs slightly damp, sometimes point to a ventilation deficit that no single extractor fan will solve, positive input ventilation (PIV) is worth discussing with a specialist in those cases. The Mira Showers prevention guide covers useful daily habits that complement this checklist.
Health cautions, tenancy considerations, and safety limits
Mould can irritate airways and worsen asthma or other respiratory conditions, and the NHS advises that anyone with breathing difficulties should seek medical advice if they’re regularly exposed. Children, older people, and anyone immunocompromised should avoid handling mould removal themselves where possible.
If you rent, notify your landlord promptly and in writing once you spot recurring mould, gov.uk guidance sets out clear responsibilities for housing providers to inspect and remediate repeated problems, and keeping dated photographs strengthens your case. Our guidance for tenants reporting mould covers what to document.
- Wear gloves, an FFP2 mask, and eye protection for any treatment work
- Ventilate the room throughout, don’t work in a sealed space
- Stop and seek advice if a patch covers a large wall area or keeps returning despite proper treatment
Why a survey-led approach matters for persistent mould
Survey-led diagnosis prevents you spending money on treatments that were never going to fix the actual cause. A proper survey maps moisture levels across the affected area, identifies whether you’re dealing with condensation, penetrating damp, or a hidden leak, and only then proposes a scope of work.
What you should expect from a reputable survey:
- A written report setting out findings in plain language
- Moisture readings taken with proper equipment, not guesswork
- Photographic evidence of the affected areas
- A cause analysis explaining why the mould appeared
- A remedial plan with a written guarantee attached
Quay Point Plastering has worked across Dorset, Hampshire, and Wiltshire for more than 35 years, and every job starts with diagnosis based on visual and moisture evidence before any treatment is proposed. When your bathroom mould matches the thresholds covered above, a documented survey is the step that turns a recurring problem into a solved one.
A tradesperson’s view on the mistakes that keep mould coming back
The most common mistake isn’t laziness, it’s reaching for the wrong cleaner and never touching the moisture source underneath. Painting over a damp patch is the classic false fix; it looks resolved for a fortnight, then the stain bleeds straight back through.
Two habits from the field worth adopting: always test the extractor fan before assuming it works, and never over-saturate plaster when cleaning, it just feeds the problem you’re trying to remove. After any repair, re-seal properly rather than leaving a gap for spores to re-establish.
How Quay Point Plastering can help with persistent bathroom mould
If you’ve worked through the checks above and your mould keeps returning, or the plaster feels soft, or the smell has spread beyond the bathroom, that’s the point where a survey earns its cost back. Quay Point Plastering’s process starts with inspection, not treatment: moisture readings, photographic evidence, and a written scope of work before anything gets touched. You get a documented cause, a defined plan, and a written guarantee on the remedial work, so you’re not paying to repeat the same job in eighteen months.

For anything that looks like penetrating damp rather than simple condensation, our damp problems overview explains the different causes we see across Dorset, Hampshire, and Wiltshire. If your bathroom mould matches the professional thresholds covered in this guide, book a damp and timber survey and get a documented answer rather than another round of guesswork.
Sources
- Gov
- Can damp and mould affect my health? (NHS)
- Mould on bathroom ceiling: causes, removal & how to stop it (Damp & Mould Solutions)
This article is general information, not a substitute for advice from a qualified doctor. Consult a qualified healthcare professional about your own circumstances before acting on anything here.