
Smell First: Homeowners' Early Dry Rot Signs and When to Survey
Smell First: Homeowners’ Early Dry Rot Signs and When to Survey
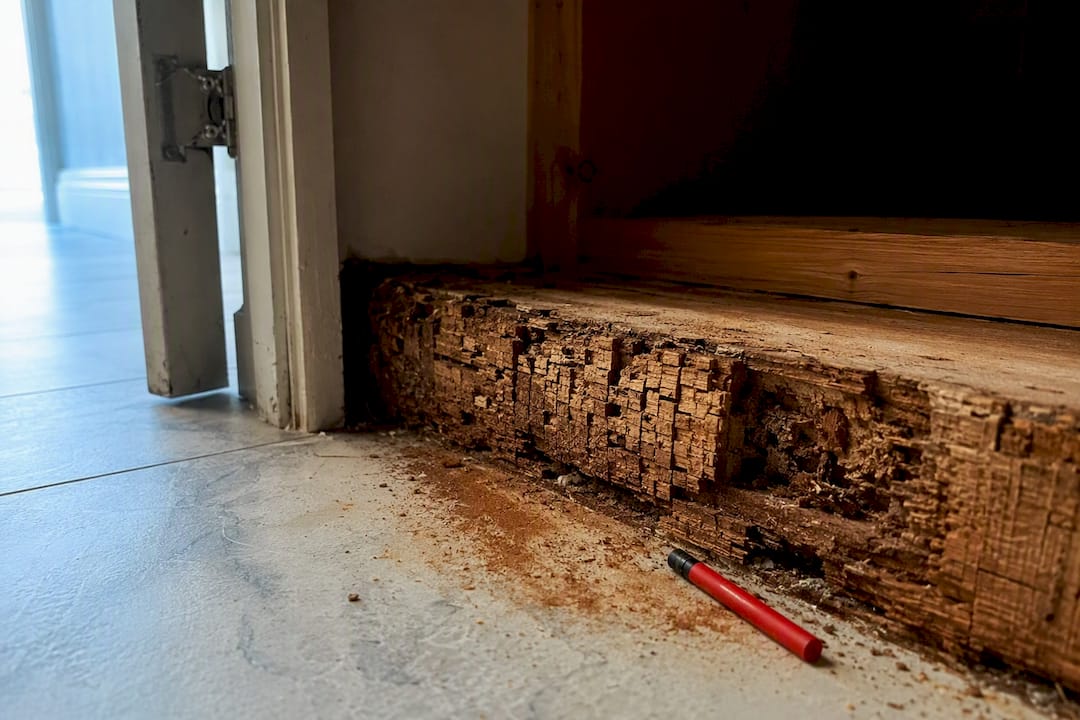
The clearest early warnings of dry rot are a persistent mushroom-like smell, wood that cracks into small cubes and crumbles under light pressure, dull white or grey cotton-wool growth, and rust-brown spore dust on nearby surfaces. If you notice any of these, the right next step is a proper damp and timber survey, not a DIY fix, because dry rot spreads quickly once conditions suit it and treating the symptom without finding the moisture source rarely holds.
TL;DR:
- Dry rot often starts with small leaks that go unnoticed for months, making early detection crucial to prevent structural damage.
- Confirmed early signs, such as cuboidal cracking and musty odours, are inexpensive to address and can prevent costly repairs later.
- Mycelium can travel through masonry and cavities, meaning visible damage might be just a small part of a larger, hidden problem.
- DIY treatment is rarely effective unless a thorough survey confirms the extent and source of the infestation; professional diagnosis is essential.
- Addressing the moisture source is as important as removing affected timber, since failure to do so leads to rapid reinfestation.
Table of Contents
- Visual and tactile signs of dry rot on timber
- The smell that often comes before you see anything
- Where dry rot tends to start and hide
- Safe checks you can do before calling anyone
- Dry rot versus wet rot: telling them apart
- When to call in a professional survey
- What 35 years of surveys teaches you about dry rot
- The real cost of waiting on dry rot
- Book a survey-led inspection with Quay Point Plastering
- Sources
- FAQ
Visual and tactile signs of dry rot on timber
Dry rot, caused by the fungus Serpula lacrymans, leaves a distinctive trail once it takes hold, and most of it is visible if you know where to look. The damage tends to show up in a specific order, starting with changes to the wood itself and ending with the fungus’s own reproductive structures.
Cuboidal cracking is often the first thing a surveyor points to. As the fungus breaks down cellulose inside the timber, the wood splits across the grain into small, cube-shaped sections, usually at intervals of around 3 to 7 centimetres. This pattern is different from the fine, straight-grain splitting you get with normal drying shrinkage. It tells you the wood has lost the structural fibres that give it strength, not just moisture.
Mycelium is the fungus’s feeding network, and it looks like nothing else you’ll find in a house. It forms sheets that resemble cotton wool or a fine grey blanket, sometimes tinged yellow or lilac, with root-like strands running through and across surfaces. Unlike most household mould, dry rot mycelium can travel across masonry, under floors, and through plaster cavities to reach fresh timber, which is part of why it’s so hard to contain once established.
Fruiting bodies are the most dramatic sign, and usually the latest to appear. They look like flat, pancake-shaped growths with a rusty red or ochre centre and a paler, almost white fringe at the edge. Their job is to release spores, which settle nearby as a fine rust-brown dust on skirting boards, windowsills, and floors. Finding this dust is a strong indicator that the fungus is mature and has been active for some time.
Brittleness is the structural consequence of all this. Timber affected by dry rot loses tensile strength long before it looks obviously rotten, and by the time it’s crumbling under a screwdriver, load-bearing capacity has often already dropped. In joists, sill plates, or roof timbers, this matters far more than surface appearance suggests.
Signs worth checking for, roughly in the order they tend to appear:
- A change in the sound or feel of skirting boards when tapped or pressed
- Fine cube-shaped cracks running across (not along) the wood grain
- Cotton-wool-like grey or off-white sheets on timber or masonry
- Root-like strands spreading away from the main area of damage
- Rust-brown dust settling on nearby surfaces or windowsills
- Flat, ochre-coloured fruiting bodies with pale outer edges
The smell that often comes before you see anything
A persistent musty, earthy, mushroom-like odour is frequently one of the earliest warning signs of dry rot, and it can appear well before any visible damage. This isn’t the same as the flat, damp smell of ordinary condensation or a bathroom that needs airing. Dry rot’s smell has a sweetish, fungal quality that tends to be strongest in enclosed spaces like understairs cupboards, subfloor voids, and airing cupboards.
One useful clue: if the smell seems to fill a room without an obvious local source, that’s more suggestive of dry rot than ordinary mould, because the mycelium can travel through masonry and cavities to affect timber some distance from where moisture actually entered the building.
Other indirect signs worth noting alongside the smell:
- Damp-looking patches on walls or ceilings with no clear cause nearby
- Paint or wallpaper that bubbles, lifts, or feels soft to the touch
- Doors or windows that suddenly stick or no longer close properly
- Floorboards that feel springy, creak more than usual, or flex underfoot
If you spot any of these, jot down the date, the exact location, and a brief description of the smell’s intensity. That record becomes useful evidence for a surveyor working out how long the problem has been developing.
Where dry rot tends to start and hide
Dry rot favours dark, poorly ventilated timber that stays damp for extended periods, which is why certain parts of a house account for most cases. Common risk areas include floorboards, skirtings, and sill plates, along with several other predictable trouble spots.
- Subfloor voids — trapped moisture and stagnant air with little cross-ventilation
- Sill plates and rim joists — timber sitting close to masonry that draws in ground moisture
- Under bathrooms and kitchens — repeated small leaks from pipework, seals, or appliances
- Attic timbers after roof leaks — moisture sits unnoticed for months in rarely visited spaces
- Window sills and external thresholds — exposed to weather and prone to failed seals
Poor ventilation combined with a slow leak is the pattern behind most cases. Once established, dry rot can spread through masonry and plaster cavities to reach timber well away from the original leak, which is exactly why a damp patch in one room sometimes turns out to be connected to decay found metres away.
Safe checks you can do before calling anyone
A few simple checks, done carefully, give you useful evidence to bring to a surveyor without putting yourself or the building at risk.
- Try the screwdriver test. Press a screwdriver or similar tool gently into suspect timber. Sound wood resists; affected wood often crumbles, sinks in, or splits along cube-shaped lines with very little pressure.
- Check specific probe points. Focus on the lower parts of skirting boards, the feet of door frames and sill plates, and any accessible joist ends near external walls or bathrooms.
- Photograph everything you find. Take clear, well-lit photos of cracking patterns, mycelium, or dust, including something for scale like a coin or ruler.
- Note the location and date. A simple list with room, exact spot, and when you first noticed it builds a useful timeline.
- Leave fruiting bodies alone. Don’t poke, brush, or remove large fungal growths, since disturbing them releases spores that can spread the problem further, and never remove structural timber yourself to “check” further inside it.
Pro Tip: Keep a simple log with photos, a one-line odour description, and the date and time of each observation. Surveyors rely heavily on this kind of timeline when working out how long an infestation has been active and how far it’s likely to have spread.
Dry rot versus wet rot: telling them apart
Confusing dry rot with wet rot leads to the wrong treatment, so it’s worth knowing the differences before you assume the worst, or dismiss something that needs attention.
- Texture: dry rot leaves wood dry, brittle, and powdery once damaged; wet rot leaves it soft, spongy, and often damp to the touch.
- Mycelium colour: dry rot mycelium is usually a dull, off-white to grey sheet, while wet rot produces a brighter, glossier white surface.
- Fruiting bodies: dry rot’s are flat, ochre or rust-red with pale edges; wet rot rarely produces anything this distinctive.
- Spread pattern: dry rot travels through masonry and plaster to reach dry timber elsewhere; wet rot stays confined to consistently wet timber and doesn’t spread the same way.
Two other look-alikes are worth ruling out. Small round holes with fine powder (frass) point to woodworm rather than fungal decay, and surface mould with no cracking or crumbling is often cosmetic condensation mould rather than structural rot. If you’re unsure which you’re looking at, comparing symptoms against wet rot treatment guidance is a reasonable starting point before assuming the worst.
When to call in a professional survey
Some signs mean it’s time to stop investigating yourself and bring in a specialist. Book a survey if you find any of the following:
- A positive screwdriver or press test on structural timber
- A persistent musty smell with no visible source you can identify
- Any fruiting bodies, however small
- Doors, floors, or windows showing signs of structural movement
A proper survey-led diagnosis goes well beyond a visual look. Surveyors typically combine moisture meters, thermal imaging, and non-destructive probing to map how far decay has spread without unnecessarily opening up timber or plaster. In more complex cases, samples may go for laboratory analysis to confirm the species and rule out other causes.
Fixing the moisture source matters as much as treating the timber. Treating rot without addressing the leak or ventilation problem that caused it almost always leads to reinfestation. There’s also a professional accountability angle here: surveyors who misidentify dry rot, recommend the wrong treatment, or over-treat sound timber can face real liability, which is exactly why documented, evidence-led surveys exist rather than guesswork. A damp and timber survey should leave you with clear findings and a defined scope of work, not a vague quote for treatment.
What 35 years of surveys teaches you about dry rot
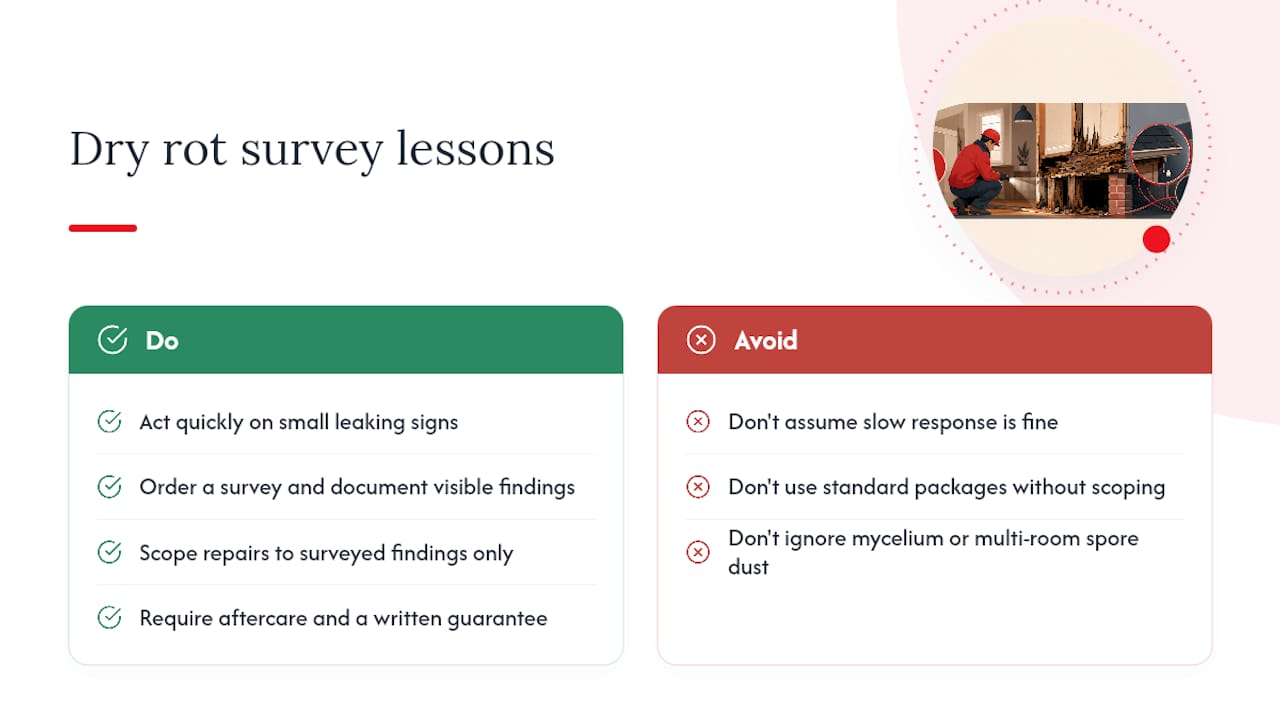
A company specialising in damp and timber problems across Dorset, Hampshire, and Wiltshire notes that a few patterns repeat constantly. Hidden decay is almost always found where a small leak went unnoticed for months, not years, which is why speed matters more than people assume.
Survey-led diagnosis means documenting exactly what’s visible before recommending any treatment, then scoping the work against those specific findings rather than a standard package. Widespread mycelium behind skirting, or spore dust in more than one room, usually signals the fungus has already travelled further than the visible damage suggests. Aftercare and a written guarantee matter because dry rot treatment only holds if the original moisture problem has genuinely been resolved, not just papered over.
The real cost of waiting on dry rot
Early signs are cheap to act on and expensive to ignore. A confirmed patch of cuboidal cracking caught early might mean replacing a metre of skirting; left for a year behind a damp wall, it can mean structural joists. The safety case is just as strong as the cost case: brittle, load-bearing timber fails without much warning. A timely survey beats DIY guesswork every time.
— Quay
Book a survey-led inspection with Quay Point Plastering
A recommended approach to dry rot treatment is to diagnose first, document everything, then define the treatment, never the other way round. That’s the real difference against a quote-first approach that jumps straight to treatment before confirming what’s actually happening in your timber.

If you’ve spotted cube-shaped cracking, a persistent musty smell, or mycelium anywhere in your property, a damp and timber survey gives you documented findings and a clear scope of work before any treatment is agreed. Where dry rot is confirmed, dry rot treatment comes with a written guarantee, so you know exactly what’s covered once the moisture source has been dealt with. Before a visit, photograph the affected areas, note when you first noticed the smell or damage, and clear access to skirtings, subfloor hatches, or loft spaces where possible. It saves time on site and gives the surveyor a proper starting point. To get things moving, request a damp and timber survey and get a clear picture of what’s happening in your timber.
Sources
- How to identify and tackle dry rot - RICS
- Early Signs of Dry Rot | Spot Timber Decay
- How to Identify Dry Rot and Wet Rot and Treat it | DIY Doctor
- Dry rot - Designing Buildings
FAQ
Can I treat dry rot myself?
Small, confirmed cases might be manageable, but dry rot spreads through masonry and hidden cavities, so DIY treatment often misses the full extent of the problem. A survey-led diagnosis identifies how far it’s actually travelled before any treatment starts.
Is dry rot expensive to fix?
Cost depends entirely on how far the fungus has spread before treatment begins. Catching it at the smell or early-cracking stage typically means far less remedial work than waiting until structural timber needs replacing.
Can you live in a house with dry rot?
You can usually continue living in a property with dry rot while it’s being investigated, but any timber showing brittleness or structural movement should be assessed quickly, since load-bearing capacity can be compromised before damage looks severe.
Does dry rot need to be removed?
Affected timber generally needs to be removed and replaced, and the moisture source that allowed the fungus to grow must be fixed at the same time. Treating the wood without resolving the underlying leak or ventilation issue usually allows the fungus to return.