
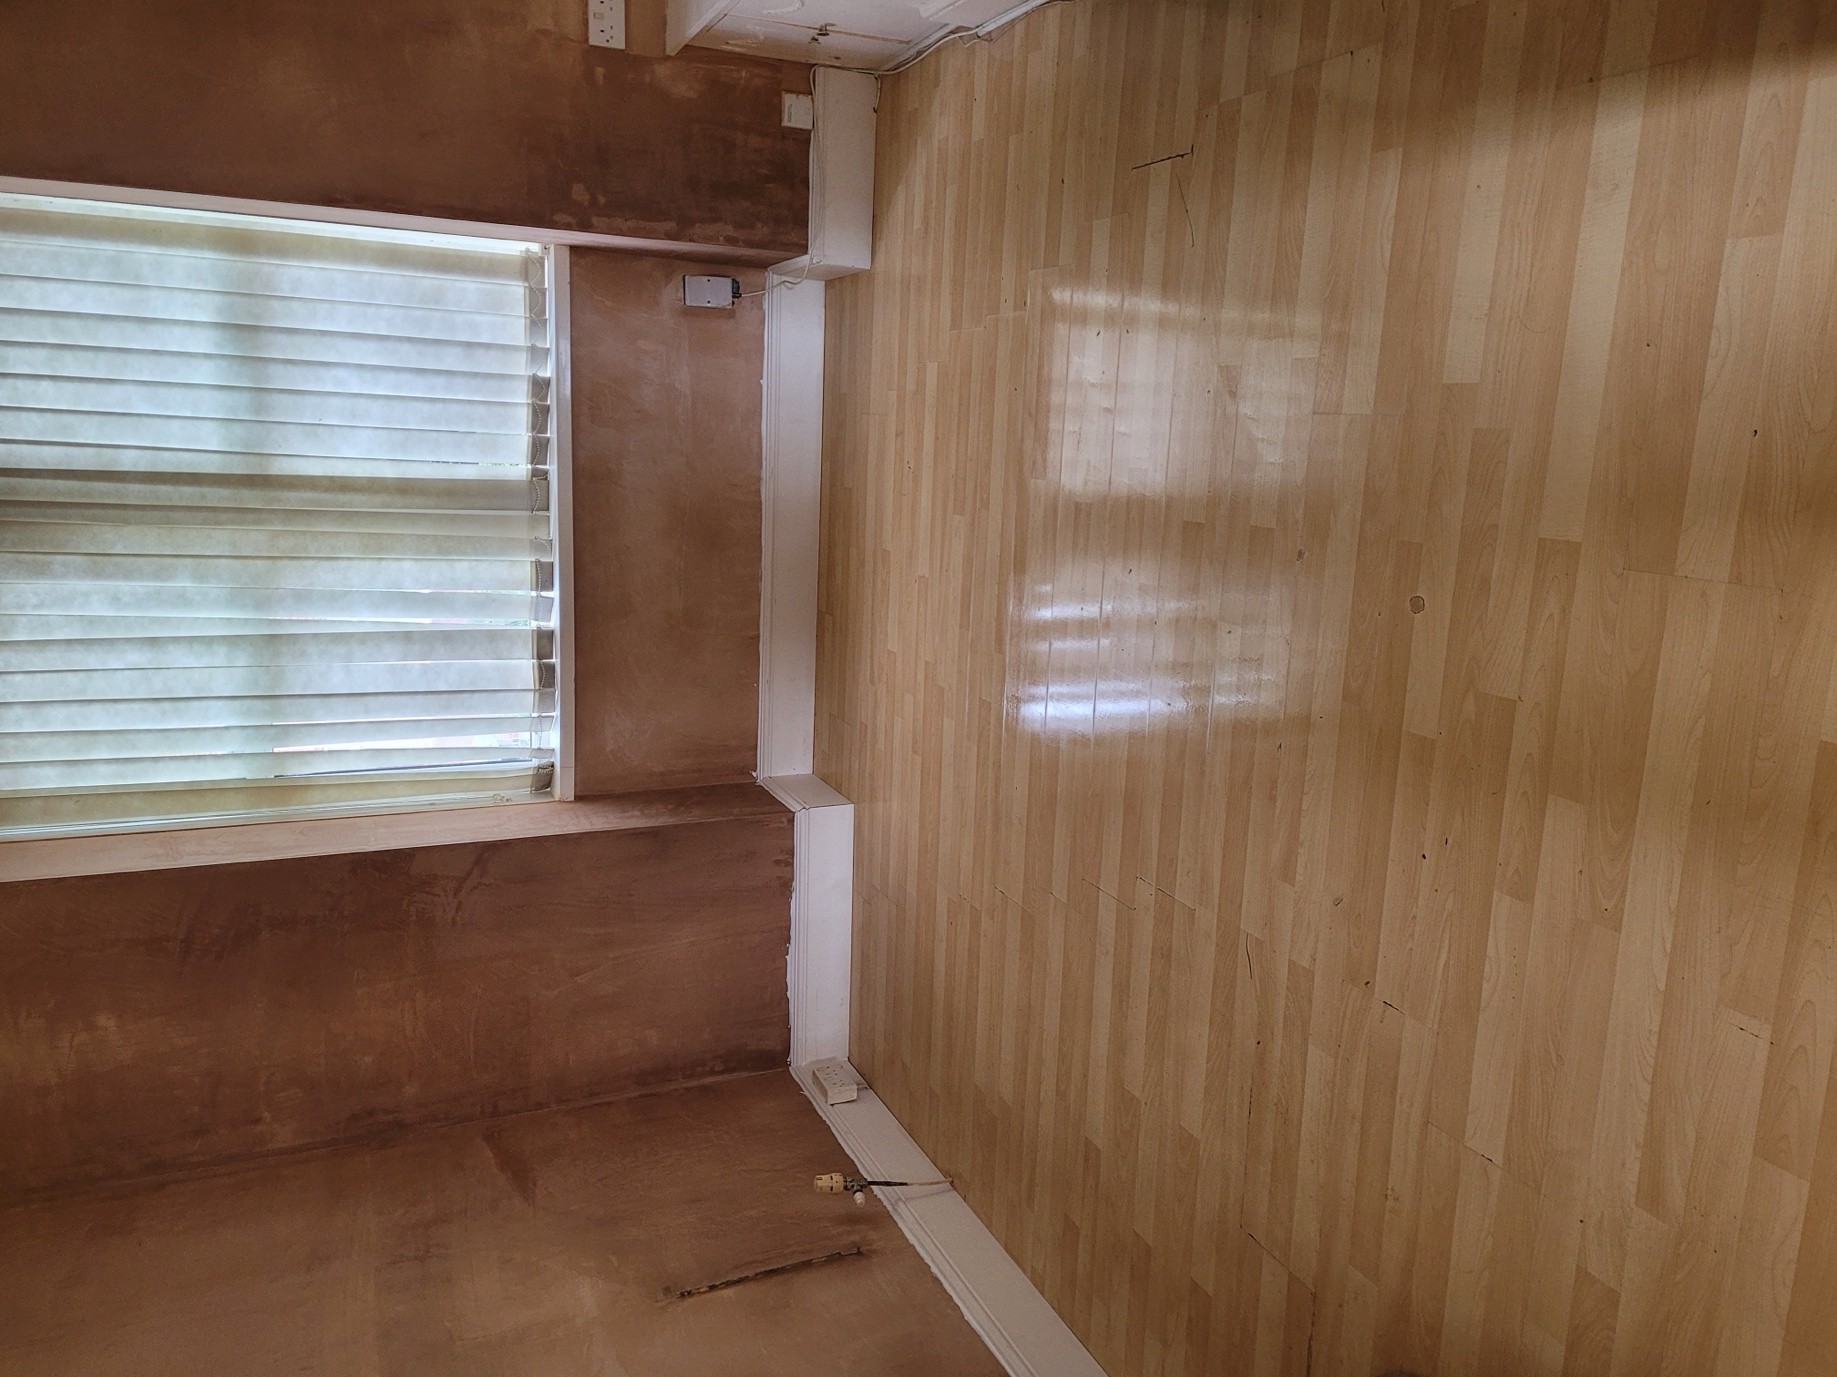
Plastering
Salt-contaminated plaster removal
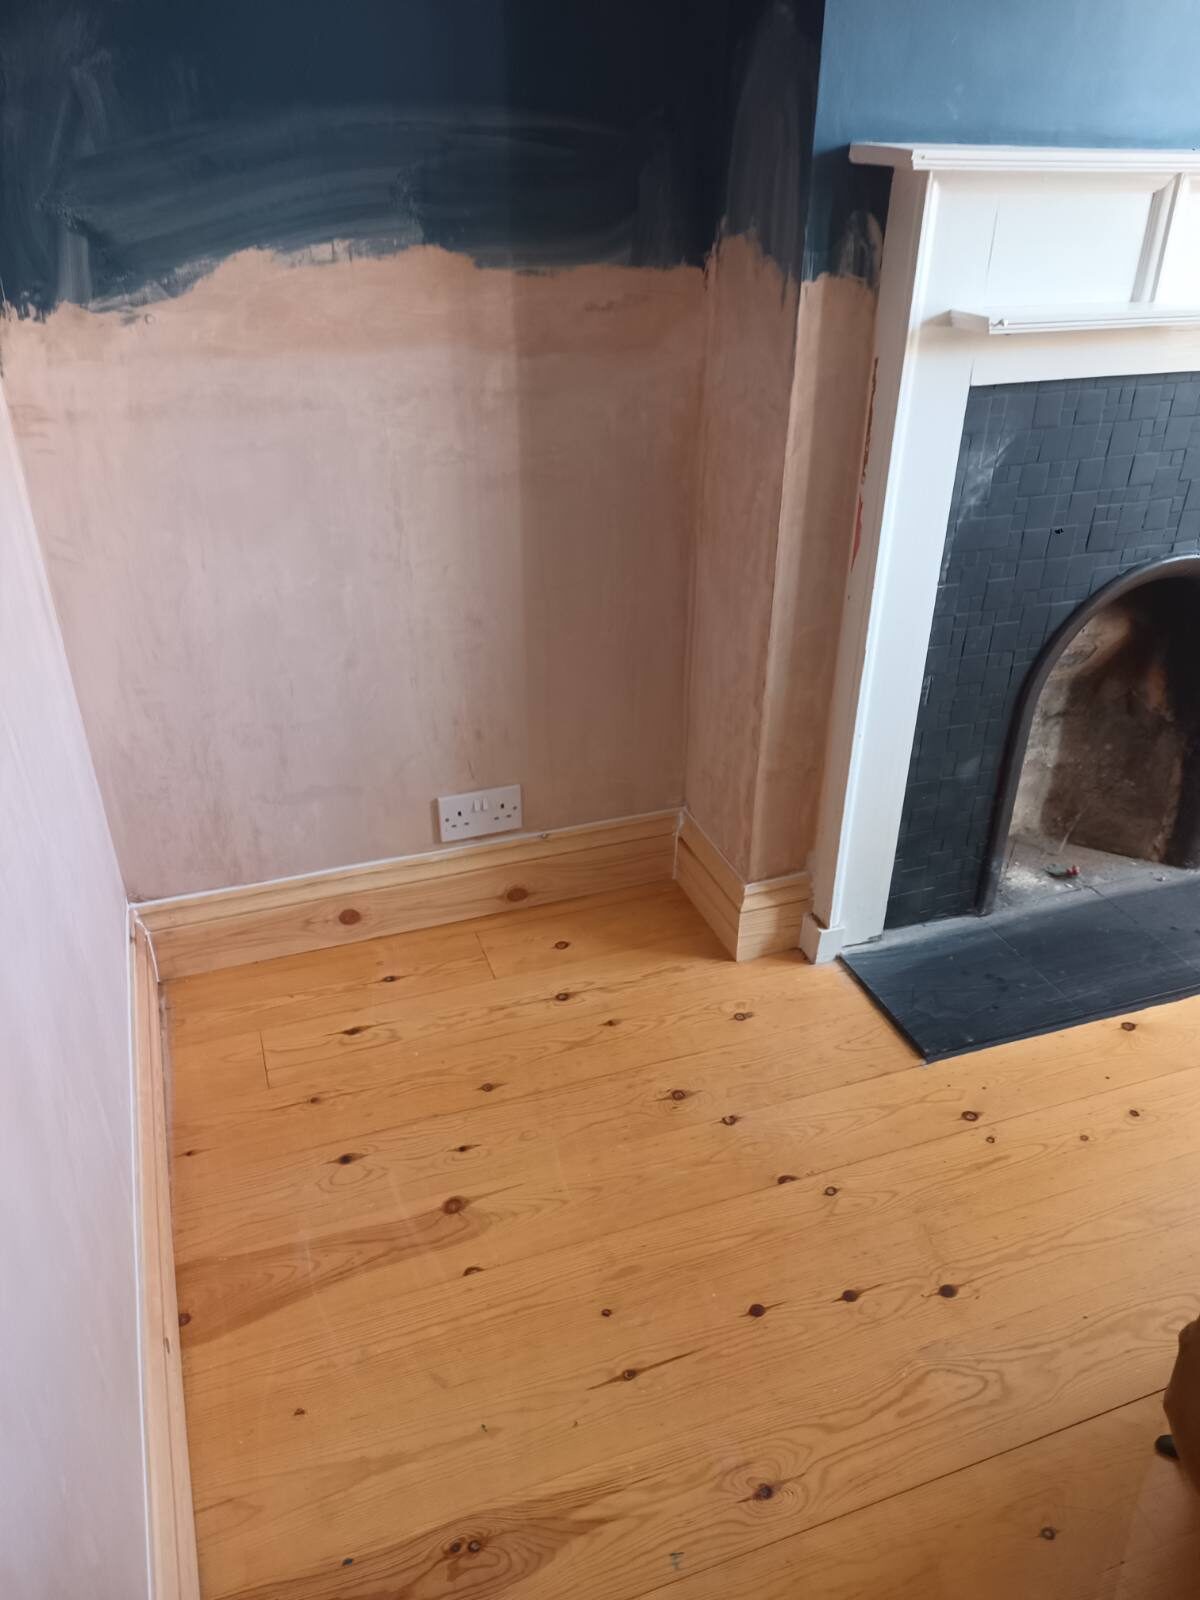
Careful removal of salt-damaged plaster before a compatible damp reinstatement system is installed.
Why diagnosis matters
Treat the cause, then repair the damage
Salts can keep a wall surface looking damp even after the original moisture path has been addressed. Removal extent should follow diagnosis, contamination and the chosen system—not a guess.
Complimentary survey
Book Your Complimentary Survey
Over 35 years of independent expertise. Written findings included. No sales pressure. No obligation.
Book your complimentary surveyTechnical review
Dan, Director / Surveyor
Last reviewed: July 2026. Advice is general until the property, access and visible evidence have been assessed.
Guarantee & aftercare
Written guarantee terms are matched to qualifying work, with inclusions, exclusions and aftercare explained before acceptance.
What we consider
Possible causes and lookalikes
Rising moisture salts
Chimney and masonry deposits
Long-term water exposure
Previous incompatible repairs
Inspection method
A clear work sequence
Step 1
Mark agreed extent
Step 2
Isolate services and protect room
Step 3
Remove unsound material
Step 4
Clean and prepare for reinstatement
Scope boundaries
Honest about what the work does—and does not—cover
Hidden defects may appear after removal and are reported before extra work proceeds. Hazardous materials require specialist assessment.
Complimentary specialist survey
Your Complimentary Specialist Survey
Backed by over 35 years of independent damp and timber expertise.
We believe in diagnosis before treatment. That's why we offer every homeowner and property manager in Dorset, Hampshire and Wiltshire a complimentary specialist survey — carried out by an experienced specialist, not a salesperson.
Over 400 combined reviews across Google and Checkatrade. Over 35 years protecting Dorset homes.
Common questions
About salt-contaminated plaster removal
How high should plaster be removed?+
It depends on the observed contamination, system specification and construction. A fixed height is not appropriate for every wall.
Can the room stay furnished?+
Work areas need clear access and effective protection. We agree preparation requirements in advance.
Is all removed plaster hazardous?+
Not normally, but unknown coatings or suspect materials are handled cautiously and referred if needed.
Is the specialist survey really free?+
Yes — completely. We offer every homeowner and property manager across Dorset, Hampshire and Wiltshire a complimentary specialist survey at no charge. This includes an on-site inspection, written findings, a clear scope of any recommended work, and an honest referral if the problem falls outside what we do. You pay nothing for the survey. You only pay if you commission the remedial work, and you are under no obligation to do so. The reason we do this is straightforward: we believe in diagnosing the problem before recommending a treatment. A proper inspection takes time, and we'd rather invest that time up front than quote a solution before we've understood the cause.
Not sure if this is your problem?
That's exactly what the survey is for. Book your complimentary specialist survey and one of our experienced team will identify the cause on-site, consider the alternatives, and give you written findings — at no charge and with no obligation.
Related services
Continue your investigation
Recent work
Photographed on our own projects
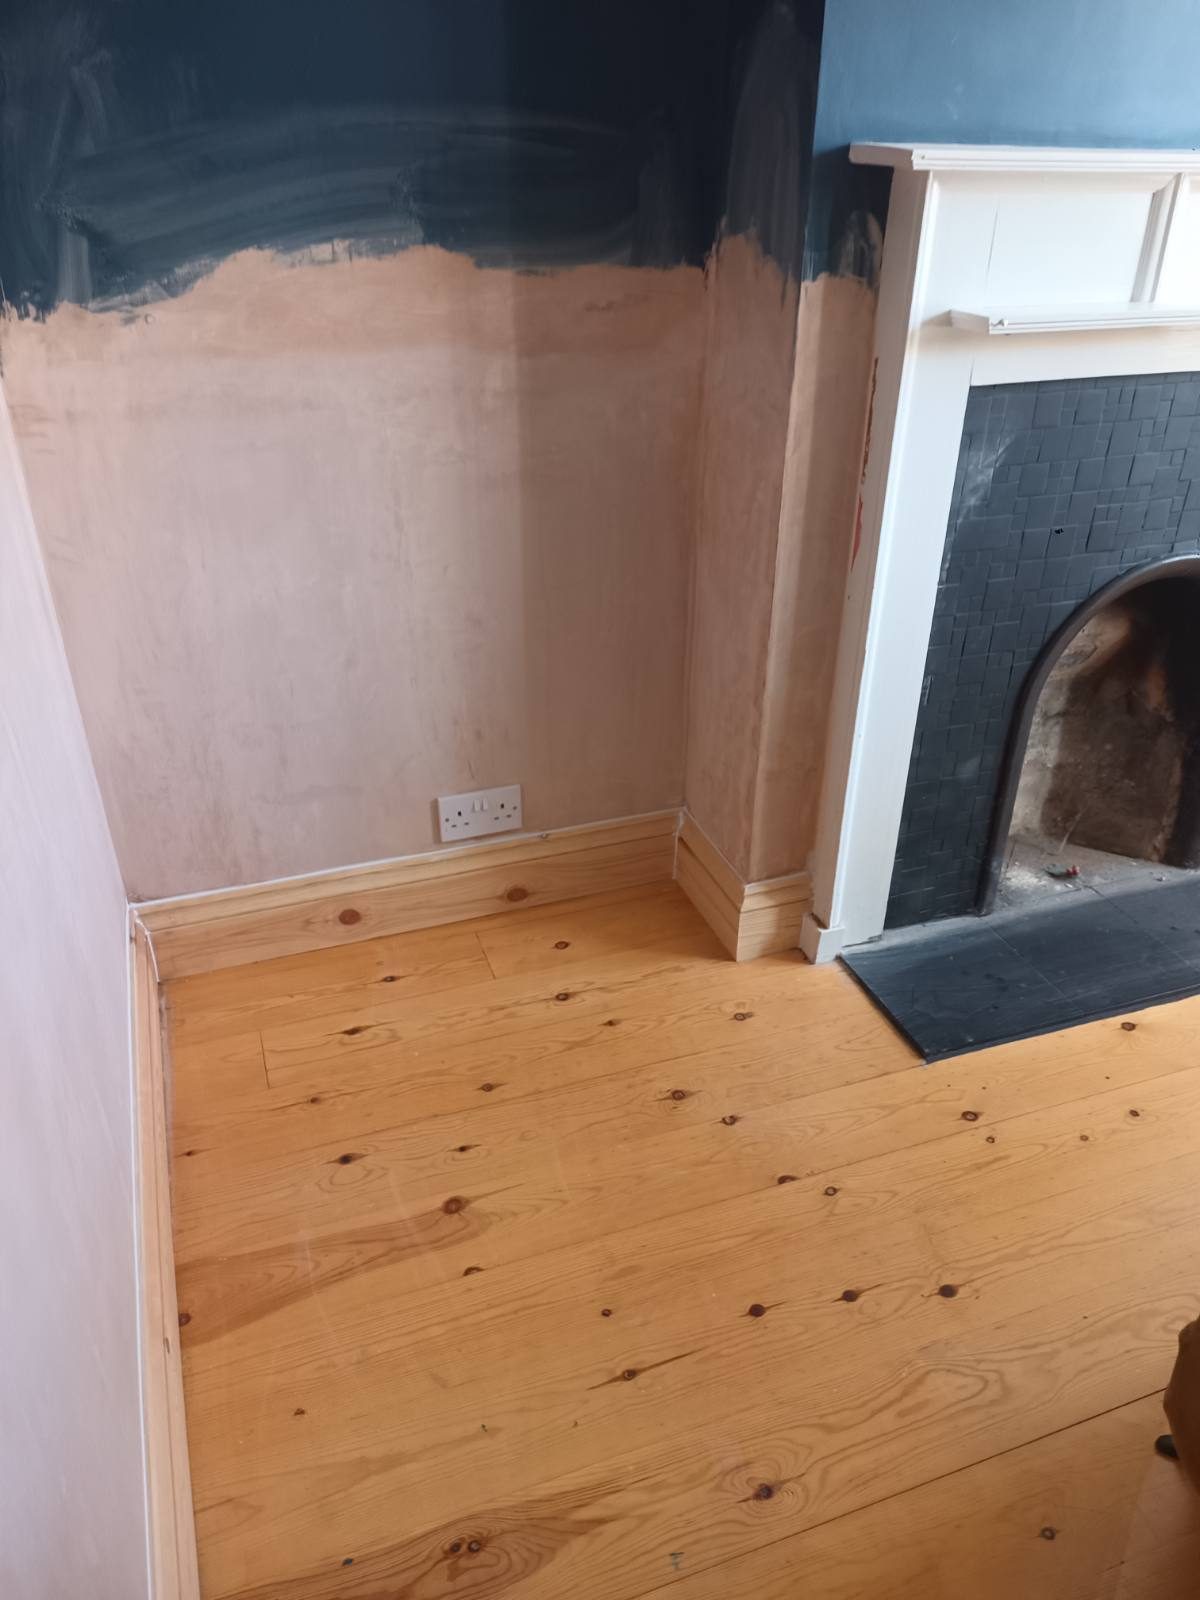
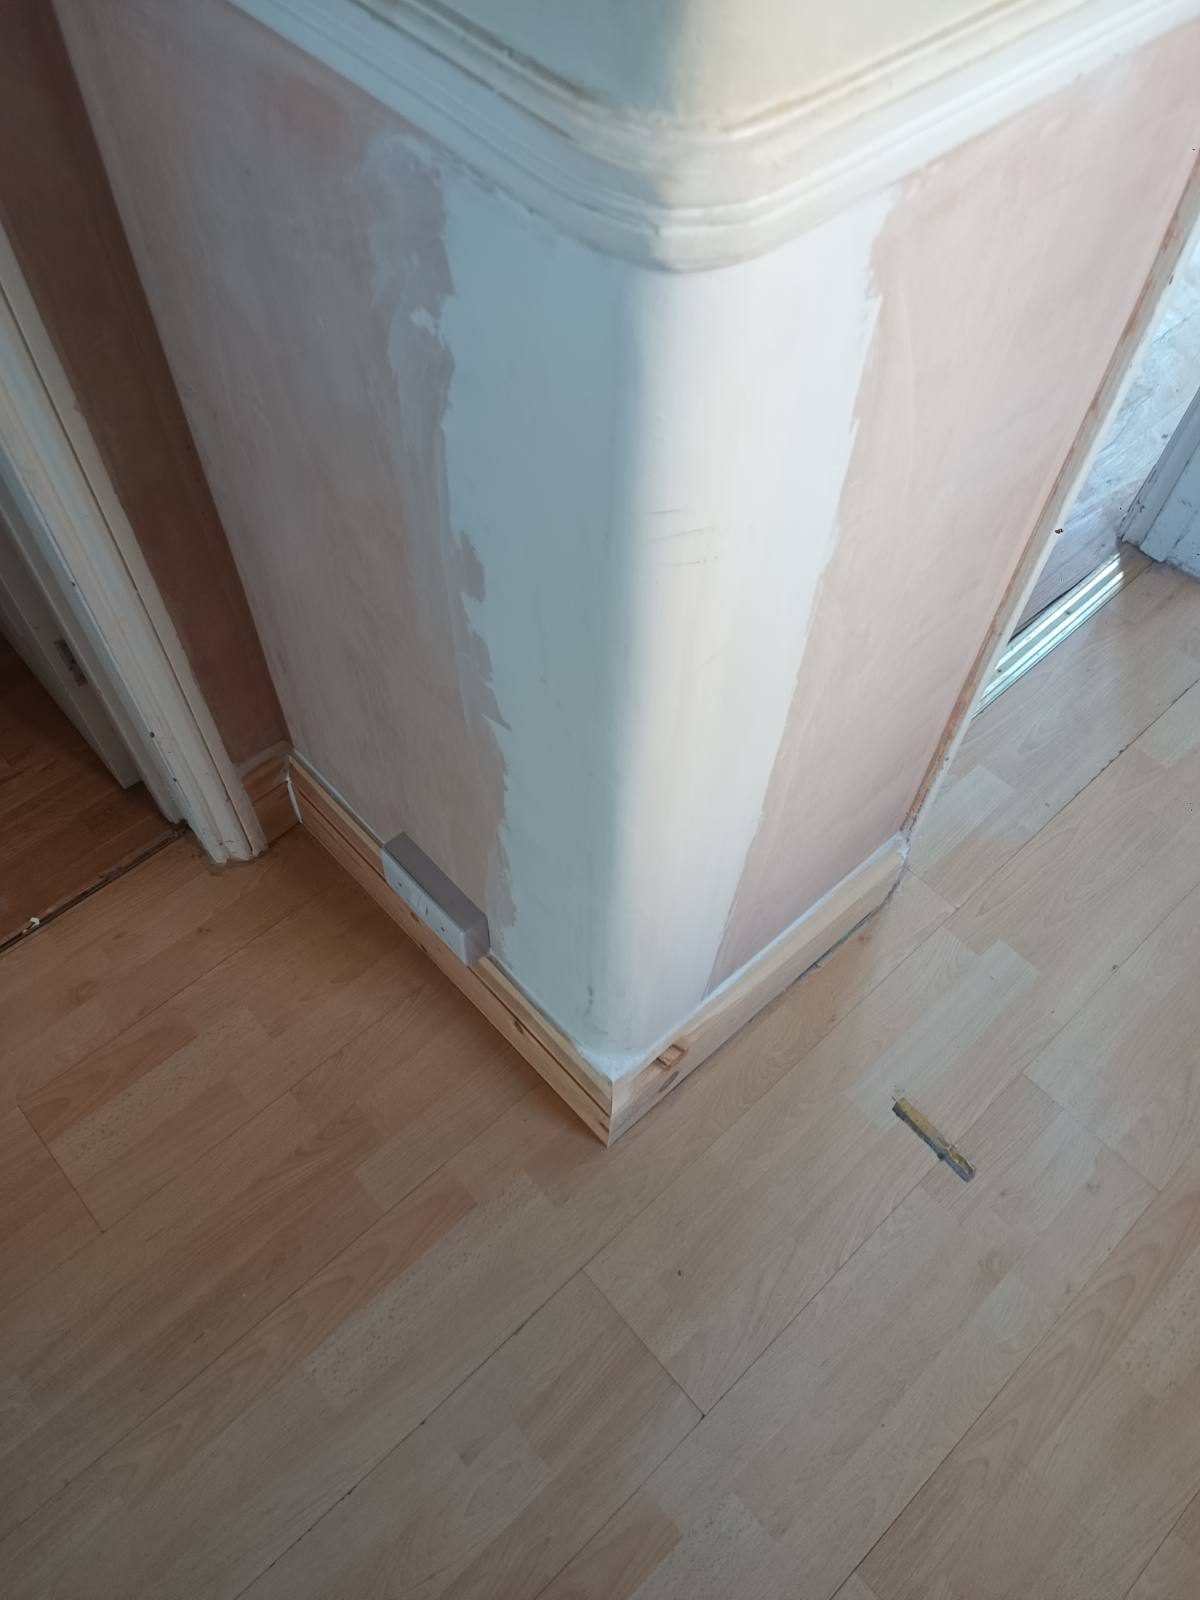
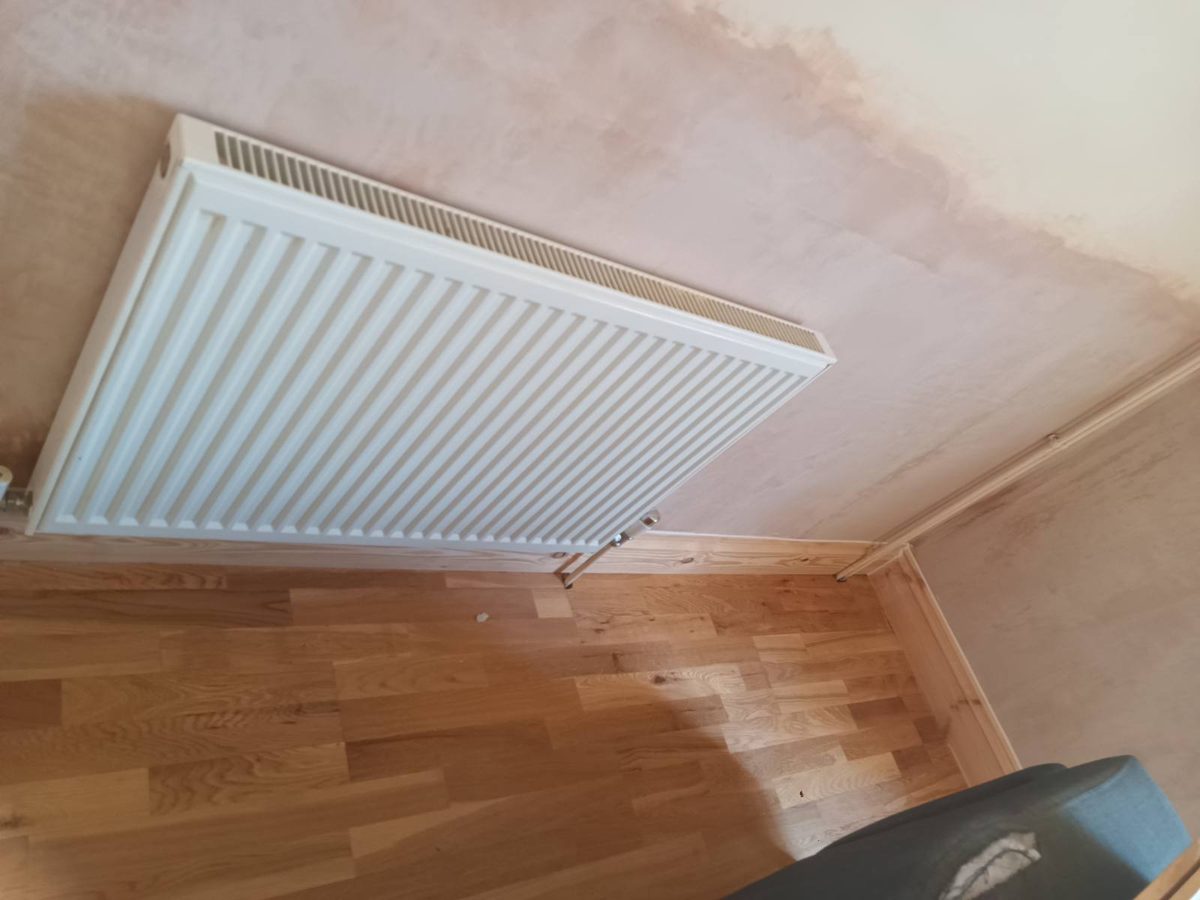
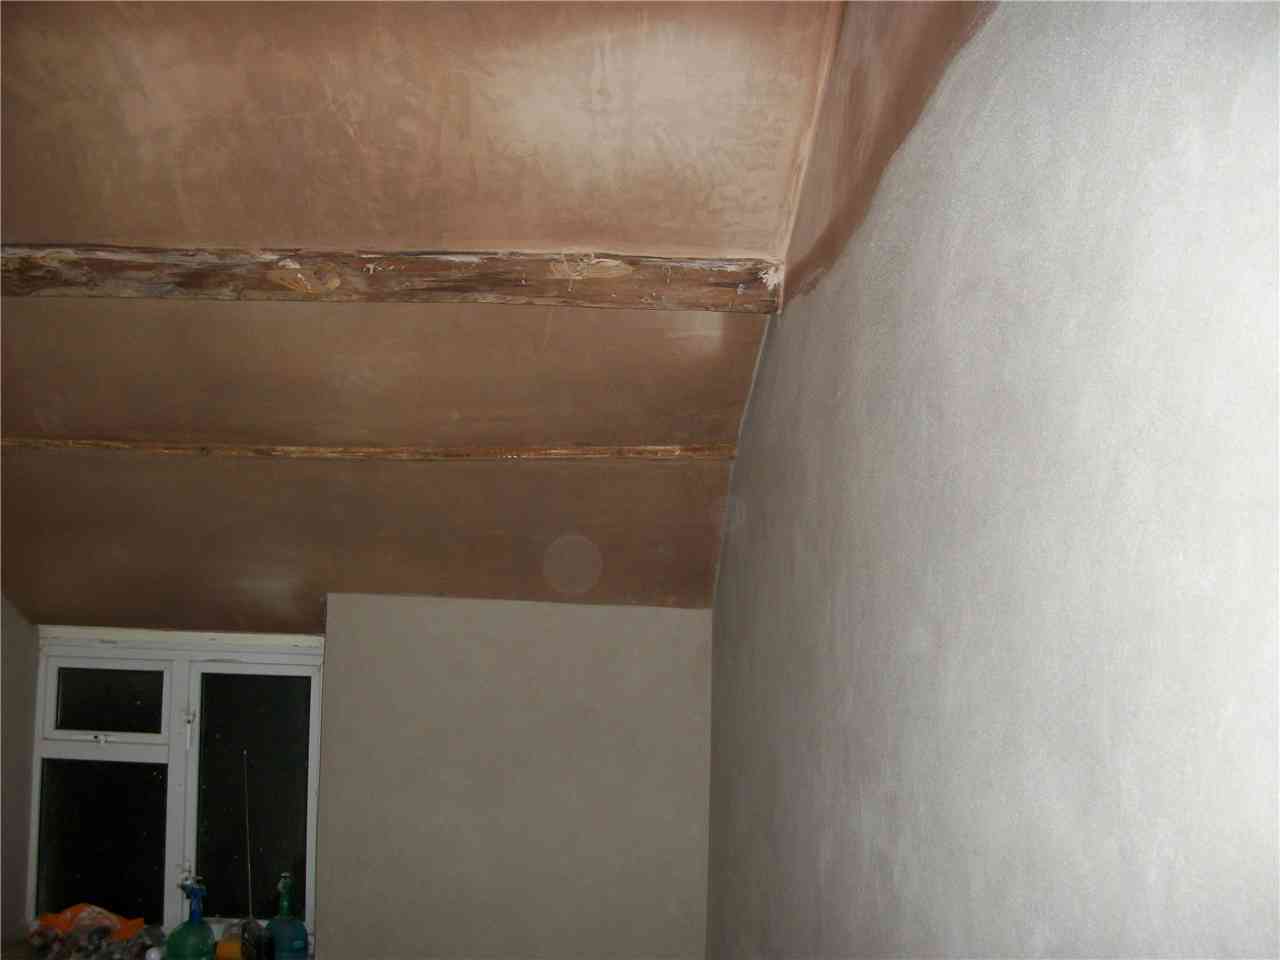
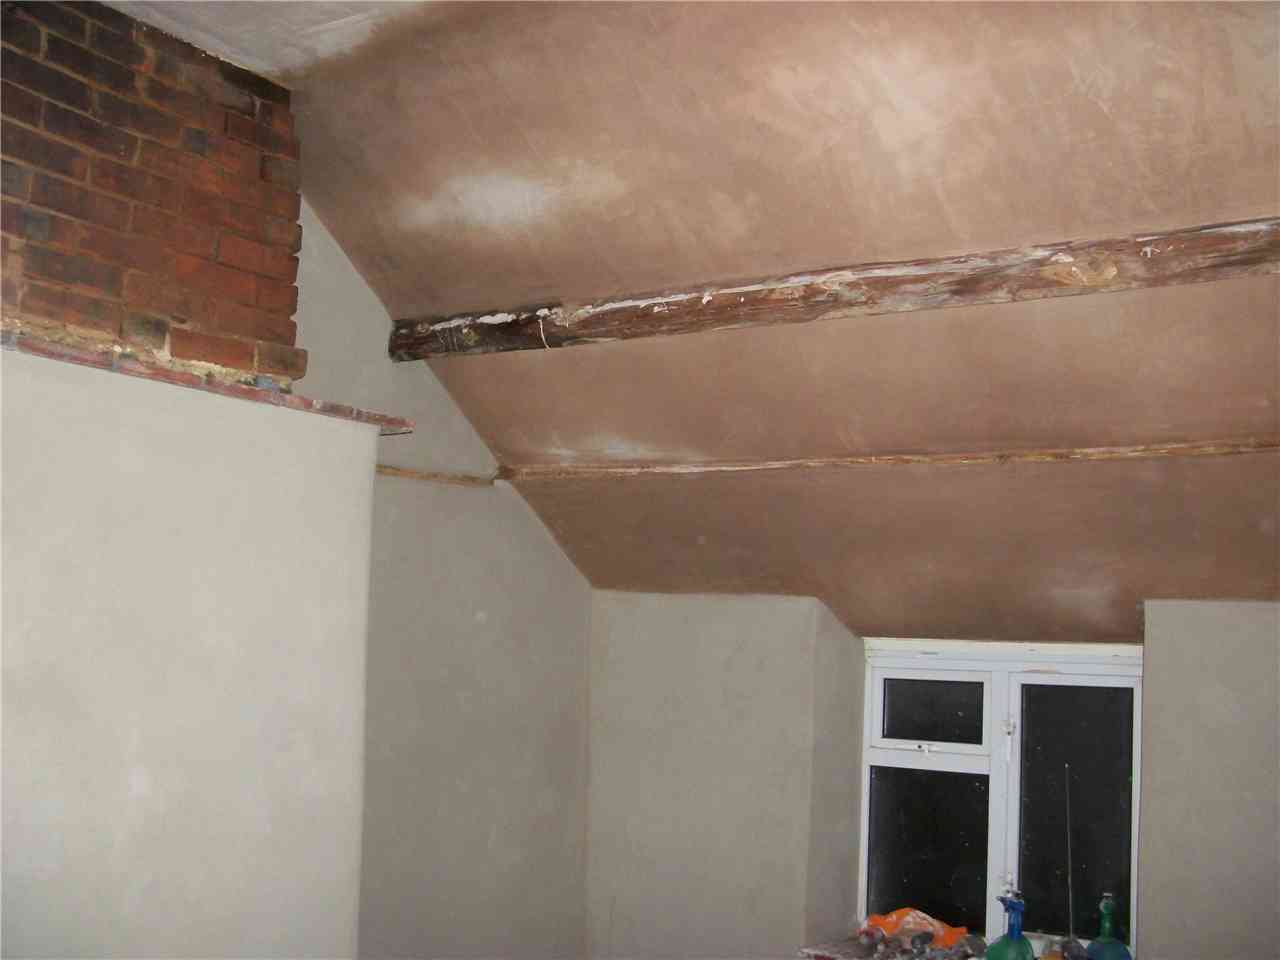
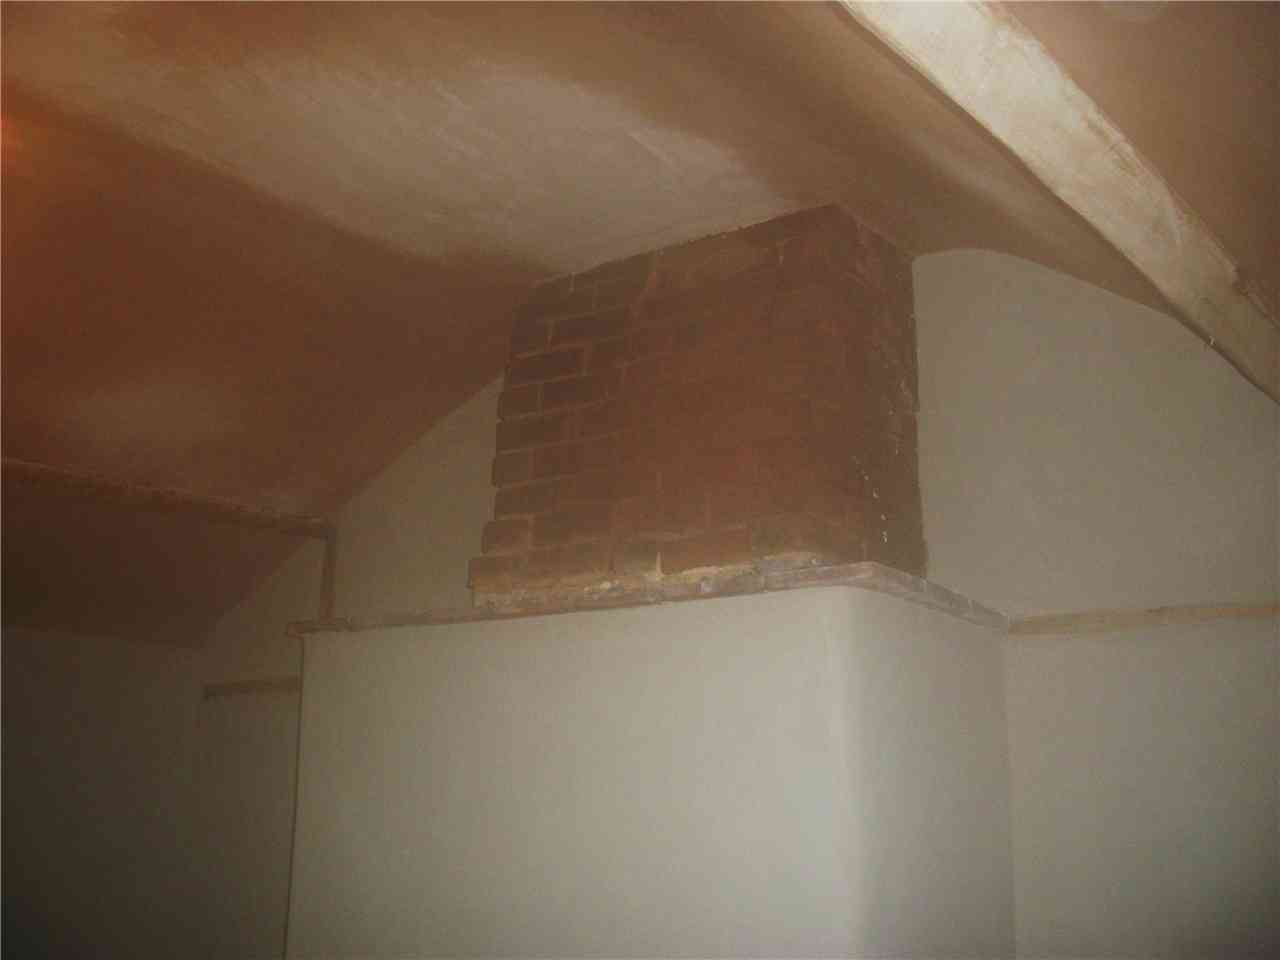
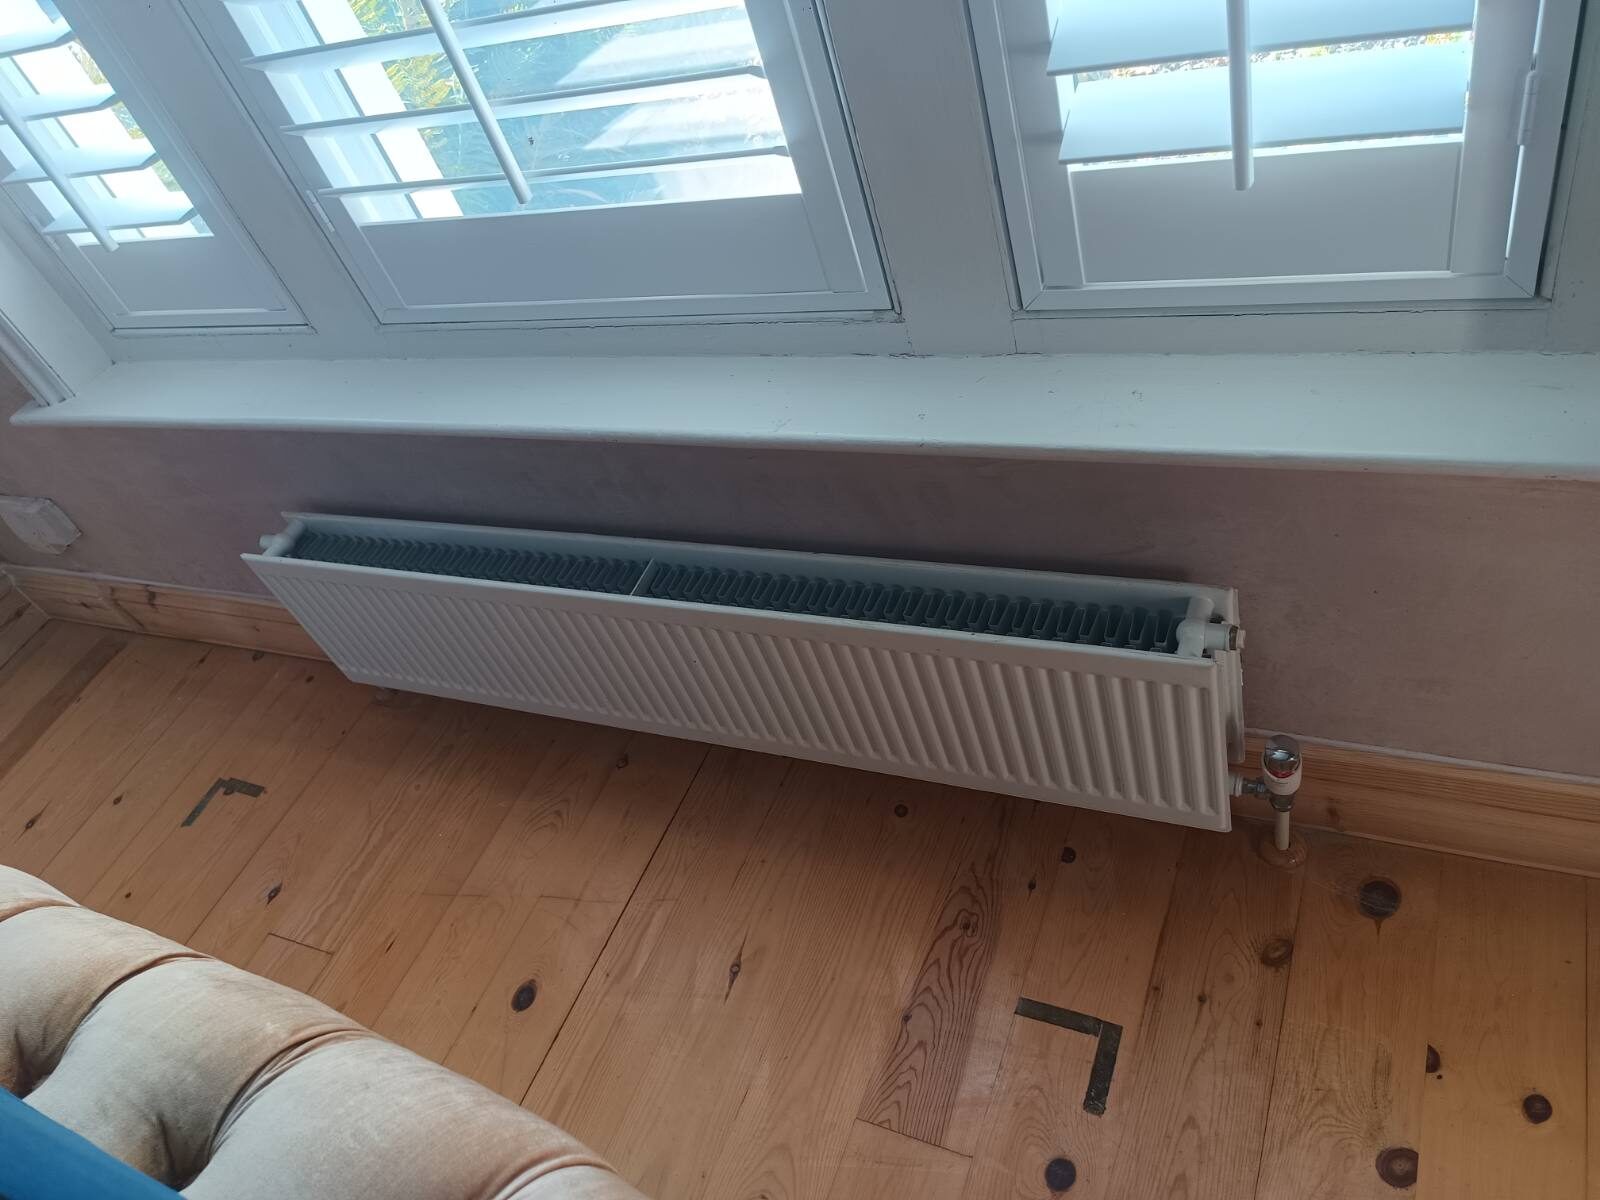
A selection of real jobs from this service, photographed on site across Dorset, Hampshire and Wiltshire.
Reviewed by local homeowners
Trusted across Dorset, Hampshire and Wiltshire
Independent feedback from customers on Google and Checkatrade — alongside over 35 years of damp proofing and plastering experience.

Next step
Claim your complimentary survey before choosing a treatment
Tell us what you can see, when it changes and where the property is. Photographs can help us triage the next step.