
Sump pump maintenance: a homeowner's guide
Sump pump maintenance: a homeowner’s guide
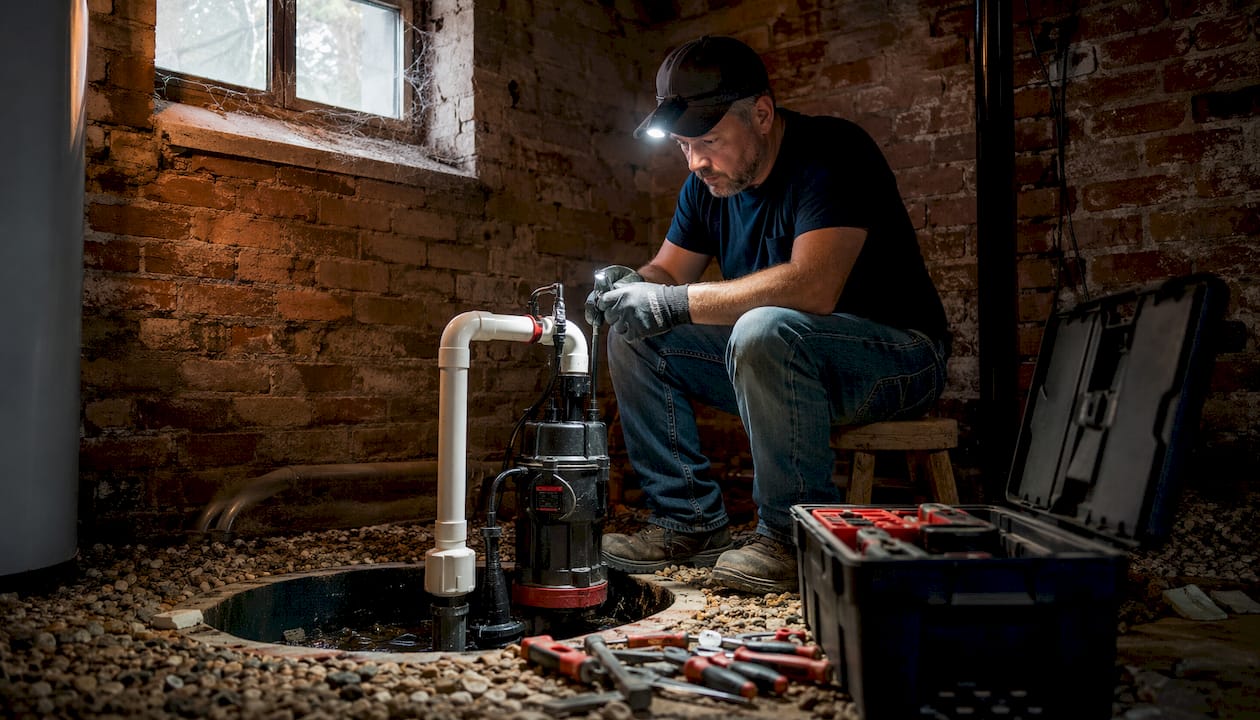
Carry out a quick visual check every month, a full system test every quarter, and a comprehensive service once a year. Before any hands-on work, isolate power at the RCD or breaker and unplug the pump. Call a professional if you see standing water near the foundation after rain, or if your pump is older than ten years and running constantly without discharging. Neglected systems can lead to restoration costs that may be very high; routine upkeep costs a fraction of that.
Pro Tip: Stick a dated label on the pump casing every time you service it. A documented service history supports insurance claims and helps any surveyor assess the system’s condition at a glance.
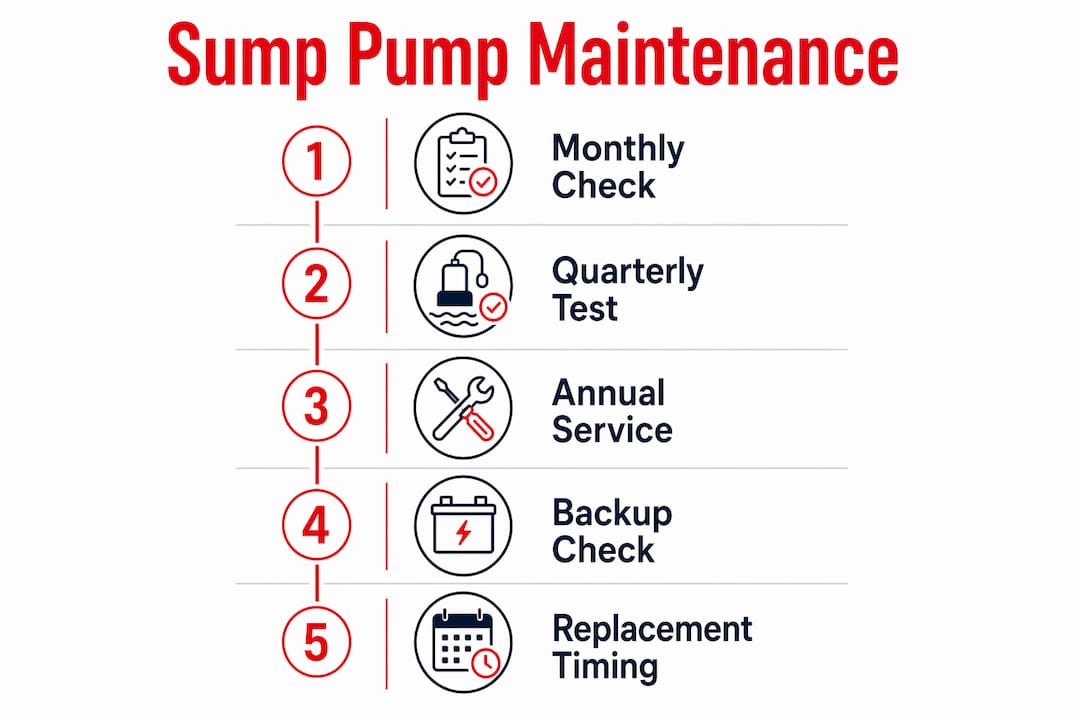
Table of Contents
- What does a good sump pump maintenance schedule look like?
- How to carry out safe DIY checks step by step
- Do you really need a backup pump and alarm?
- Why discharge routing matters: the 20-foot rule
- When should you stop DIY and call a professional?
- When should you replace a sump pump?
- When should you book a local survey-led specialist?
- Key takeaways
- Why a survey-led approach matters in Dorset, Hampshire and Wiltshire
- Quaypointplastering: survey-led waterproofing for Dorset, Hampshire and Wiltshire
- Useful sources
What does a good sump pump maintenance schedule look like?
A three-cadence programme covers everything a domestic system needs: monthly visual checks, quarterly system tests, and an annual comprehensive service.
Monthly tasks (about 5 minutes)
- Look the pump over for visible corrosion, moisture on the casing, or unusual odour.
- Pour a bucket of water into the pit and watch the float rise, the pump start, and the water discharge cleanly.
- Listen for grinding, rattling, or a motor that hums without moving water.
- Log the date and any observations in a notebook or phone note.
Quarterly tasks (about 20 minutes)
- Perform a full test cycle as above, but time how quickly the pit empties.
- Lift the float manually to confirm it moves freely and is not caught against the pit wall or discharge pipe.
- Inspect the discharge line from pump to outlet; look for kinks, blockages, or signs of backflow.
- Check all visible electrical connections for corrosion or loose fittings.
- Listen for the check valve closing cleanly after the pump stops.
Annual service (allow 1–2 hours)
The annual task is the most thorough. Remove the pump and clean the pit with a wet/dry vacuum, removing silt, grit, and debris that accelerate impeller wear. Inspect and clean the intake screen; replace it if it is cracked or deformed. Check the check valve and consider replacing it if it is more than five years old, since subtle leakage causes the motor to cycle more frequently and burns it out prematurely. Test any battery backup system and record the voltage reading.
A bound float switch is responsible for the majority of sudden pump failures. A 30-second manual lift test at each quarterly check prevents most emergency call-outs.
How to carry out safe DIY checks step by step
Safety comes first. Working on an electrified pump in a wet pit carries serious electrical risk, so follow this order every time.
- Isolate power. Switch off the dedicated breaker at the consumer unit and unplug the pump from its socket. Confirm the pump is dead before reaching into the pit.
- Inspect the pit. Look for silt build-up, standing water that should have drained, and any visible cracks in the pit liner.
- Clean the intake screen. Remove the screen or grate at the base of the pump and rinse it under a tap. A blocked screen restricts flow and causes the motor to overheat.
- Check the float switch. Lift it by hand. A tethered float should swing freely; a vertical float should slide without catching. A bound float switch is the single most common cause of pump failure.
- Reconnect and test. Restore power, pour roughly 5 litres of water into the pit, and watch the pump start and discharge. The pit should empty within 30 seconds as a general rule of thumb for a correctly sized domestic unit.
- Check the RCD. Press the test button on the RCD protecting the pump circuit. It should trip immediately. Press reset to restore supply.
Pro Tip: If the pump hums but does not move water, the impeller is likely jammed with debris. Isolate power again before attempting to clear it.
Noises to note: a grinding sound suggests bearing wear; a rattling sound often means debris in the impeller housing; a high-pitched whine can indicate the pump is running dry. Any of these warrants further investigation before the next rain event.
Do you really need a backup pump and alarm?
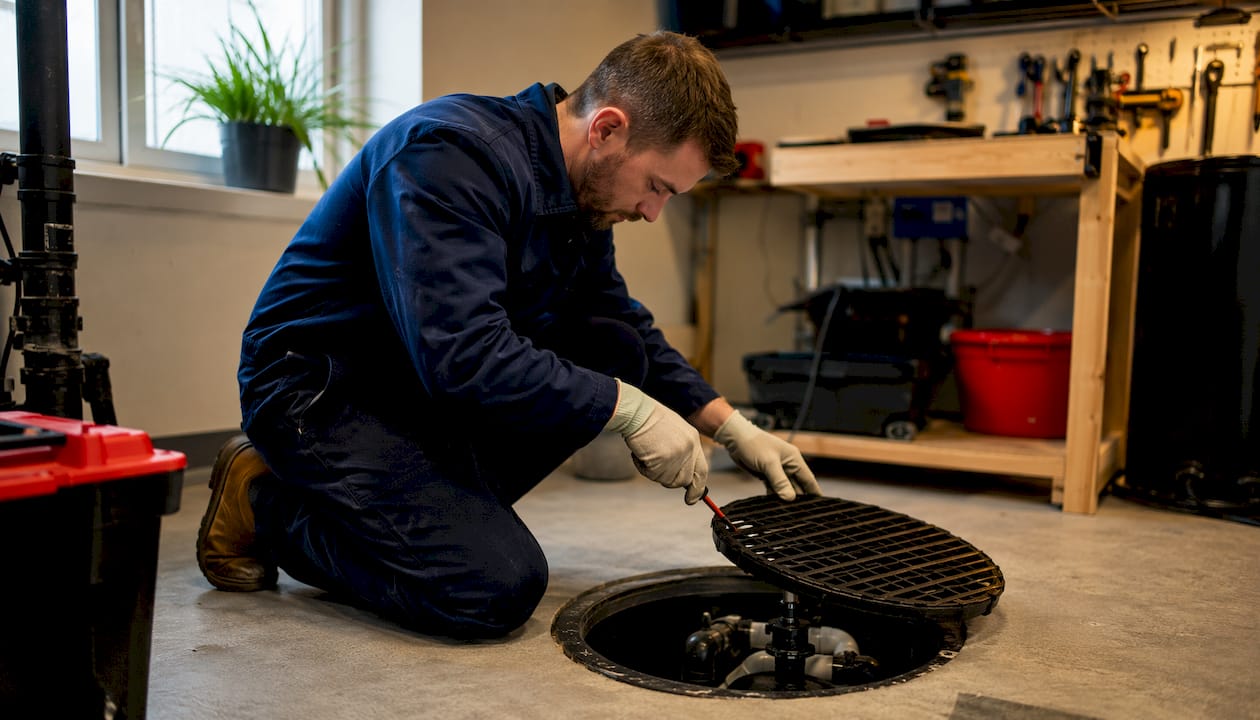
Backup systems only protect you if they are tested regularly. Batteries, alarms, and automatic activation mechanisms need routine checks to be useful during a power outage, which is precisely when you need them most.
Types of backup system:
- Battery backup pump: runs on a 12 V or 24 V cell plumbed into the primary discharge pipe. Activates automatically when the primary pump fails or the water level rises above a set point.
- Secondary electric pump: a second mains-powered unit in the same or an adjacent pit, useful where flow volumes are high.
- Water-powered backup: uses mains water pressure to create suction; no battery required, but it consumes mains water and is less common in UK domestic installations.
- High-water alarm: a float-triggered audible or remote alert that warns you before the pit overflows.
Quarterly backup test:
- Unplug the primary pump to simulate a failure.
- Pour water into the pit until the backup activates.
- Confirm it discharges correctly, then restore the primary pump.
Check battery voltage every six months. Replace the battery periodically regardless of apparent condition; a battery that reads adequate voltage under no load can still fail under the current draw of a pump motor.
Pro Tip: Treat backup maintenance as part of your primary schedule, not a separate task. Add it to the same quarterly log entry so it is never skipped.
Why discharge routing matters: the 20-foot rule
Route discharge at least 20 feet (approximately 6 metres) from the foundation and onto ground that slopes away from the building. Outlets closer than that often create a recycling flow: the discharged water drains back toward the foundation, re-enters the drainage layer, and the pump runs again almost immediately.
Common faults to check:
- Short discharge runs terminating against the garden wall or patio.
- Low spots in the pipe run where water pools and freezes in winter.
- Blocked or buried outlet ends that restrict flow.
Seasonal winterisation: Before the first hard frost, confirm the outlet is clear and that no section of pipe is exposed and uninsulated. A frozen outlet forces water back into the pit and can crack the discharge pipe or damage the pump. Wrapping exposed sections with pipe lagging and fitting a freeze-proof outlet detail are straightforward fixes. After any significant storm, check the outlet visually to confirm it is discharging freely and that no debris has blocked it.
If your current run is too short, extend it with standard PVC pressure pipe. Keep the pipe fall consistent (a minimum gradient of 1:100 away from the building) and secure it so it cannot be displaced by ground movement or lawn maintenance.
When should you stop DIY and call a professional?
Always disconnect power before touching wet equipment. Never work on a live circuit in a wet pit. Beyond that basic rule, stop DIY work and contact a specialist if you observe any of the following:
- Corrosion on the motor casing or electrical leads.
- Damaged cable insulation or a burning smell from the motor.
- The pump runs continuously but the water level does not drop.
- Persistent seepage through the pit walls or floor, suggesting a structural drainage issue.
- The RCD trips repeatedly when the pump circuit is energised.
Insurance note: Many household policies exclude sump pump failure as standard. Documenting your service dates and professional surveys strengthens any claim and demonstrates that the failure was not due to neglect. Keep a log and retain any written survey reports.
When should you replace a sump pump?
Replace your pump if it is more than ten years old, if you see standing water near the foundation during or after rain, or if it runs constantly without discharging. These are the three clearest indicators that the unit is no longer coping.
Additional replacement triggers:
- Grinding or rattling noises that persist after clearing the impeller.
- Visible corrosion at the motor housing or discharge connection.
- A leak at the motor seal.
- The pump starts and stops rapidly (short-cycling), often caused by a failing check valve.
Typical service life for a domestic submersible pump is 7–10 years. Replacing proactively at the ten-year mark avoids an emergency failure during a storm. Check valves should be replaced periodically regardless of apparent condition.
Proactive replacement at ten years is far less disruptive than an emergency call-out during a flood event, and the cost difference is significant.
Indicative UK costs (illustrative only):
Costs vary by pump specification, access, and location. Obtain written quotes before committing to any work.
When should you book a local survey-led specialist?
Some situations go beyond routine upkeep. Book a professional survey if you notice:
- Persistent seepage through basement walls or floor after rain.
- Repeated pump cycling that suggests groundwater ingress rather than surface water.
- Visible damp patches on walls following storms (a sign of penetrating damp rather than a pump issue alone).
- A backup system that failed to activate during a power cut.
- Any electrical concern with the pump circuit.
A survey from Quaypointplastering delivers documented findings with photographs, a defined scope of work, a written quote, and a workmanship guarantee. That written record serves two purposes: it tells you exactly what needs doing and why, and it provides evidence for insurers or future buyers. Survey-led diagnostics that include a written scope and guarantee identify hidden causes of pump overwork and provide the paper trail that insurers and solicitors ask for.
Preparing for a site visit:
- Gather any service records or previous survey reports.
- Note the dates of recent storms and any associated water ingress.
- Take photographs of any visible damp, staining, or water marks before the visit.
- Ensure clear access to the sump pit, consumer unit, and any affected walls.
Pro Tip: If you are a landlord or property manager, a formal landlord damp inspection provides the documented evidence required under current housing regulations.
Key takeaways
Regular sump pump maintenance follows a monthly, quarterly, and annual cadence; act on replacement triggers promptly to avoid costly water damage.
| Point | Details |
|---|---|
| Three-cadence schedule | Monthly visual checks, quarterly system tests, annual pit clean and component inspection. |
| Safety first | Isolate power at the RCD/breaker and unplug before any hands-on work. |
| Float switch priority | A bound float is the leading cause of failure; lift it manually every quarter. |
| Replacement triggers | Replace if the pump is over ten years old, runs without discharging, or standing water appears near the foundation. |
| Quaypointplastering survey | Book a survey-led inspection for persistent seepage, repeated cycling, or electrical concerns; written findings and guarantees included. |
Why a survey-led approach matters in Dorset, Hampshire and Wiltshire
Sump pump upkeep is straightforward when the system is working as designed. The difficulty arises when the pump is masking a deeper problem: groundwater pressure through chalk or clay substrates, inadequate cavity drain membranes, or rising damp in older stone and brick construction. These are common findings across Dorset, Hampshire and Wiltshire, where building stock ranges from Victorian terraces to rural properties with solid-wall construction and no original damp-proof course.
A pump that cycles constantly is not necessarily failing; it may be responding to a drainage problem that no amount of pump maintenance will resolve. Quaypointplastering’s 35 years of survey-led experience in this region means the team recognises these patterns quickly. A visual inspection of the pump alone rarely tells the full story. The documented findings from a proper survey, including photographs and a defined scope, give you a clear picture of what is actually happening beneath the floor and behind the walls.
Quaypointplastering: survey-led waterproofing for Dorset, Hampshire and Wiltshire
If your sump pump is showing any of the warning signs above, or if you simply want documented confidence that your basement waterproofing system is sound, Quaypointplastering offers a specialist damp and waterproofing survey with no guesswork and no unnecessary treatment.

On the first visit, a surveyor inspects the pump, pit, drainage membrane, and surrounding walls, then produces a written report with photographs, a clear scope of work, and a workmanship guarantee. You know exactly what is wrong, what will fix it, and what it will cost before any work begins. To book your specialist damp survey or to discuss basement waterproofing options, contact Quaypointplastering today.
Useful sources
The following sources informed this guide. Each is publicly available and worth consulting for further technical detail.
- FEMA: Maintain your Sump Pump — US Federal Emergency Management Agency guidance on replacement triggers, pit cleaning, and intake screen care. The replacement criteria (age over ten years, standing water, constant running) are widely cited and apply equally to UK domestic installations.
- Sump Pump Maintenance Checklist, Sump Pump Central — Detailed twelve-step annual checklist covering float switch checks, check valve replacement intervals, and battery backup cadence.
- Sump Pump Maintenance Checklist, Home Field Experts — Practical guidance on backup system testing, battery voltage checks, and alarm activation.
- Sump Pump Maintenance, The Spruce — Explains discharge routing, the 20-foot rule, and seasonal winterisation steps.
- Sump Pump Maintenance Tips, AHS — Safety-first guidance on power isolation and lockout procedures before hands-on maintenance.
A note on documentation: Written survey reports and professional service records are the most useful evidence you can hold when making an insurance claim or selling a property. Retain all reports, quotes, and completion certificates. A surveyor’s written scope and guarantee carry more weight with insurers than a self-reported service log alone.
Documented service history and a professional survey report are the two most effective tools for supporting a water-damage insurance claim or demonstrating due diligence to a future buyer.